
Your cart is currently empty!
Selecting and Applying Beneficial Nematodes

Get updated by email whenever there’s a new post
Nematodes are good or bad? Both, actually. It depends on the species. Root knot nematodes are a horrific soil pest for many in warmer zones where they can persist for years. The focus of this post is on the positive, beneficial nematodes: hungry, non-segmented roundworms that are voracious soil predators of many of our least welcome garden visitors’ offspring.
There are three main species of beneficial nematodes, and each preys on different larval species and even at different soil depths:
- Steinernema feltiae
- Steinernema carpocapsae
- Heterorhabditis bacteriaphora
Steinernema feltiae (Sf) is what we often purchase for keeping our cutworm and root maggot populations in check. This species also preys on cucumber beetles, corn earworms, armyworms, fungus gnats, and fruit flies among many other pests.
Steinernema carpocapsae (Sc) hunts similar species to Sf, including cutworms and armyworms, but also lots of borers, weevils, fly larvae, fireworms, and more.
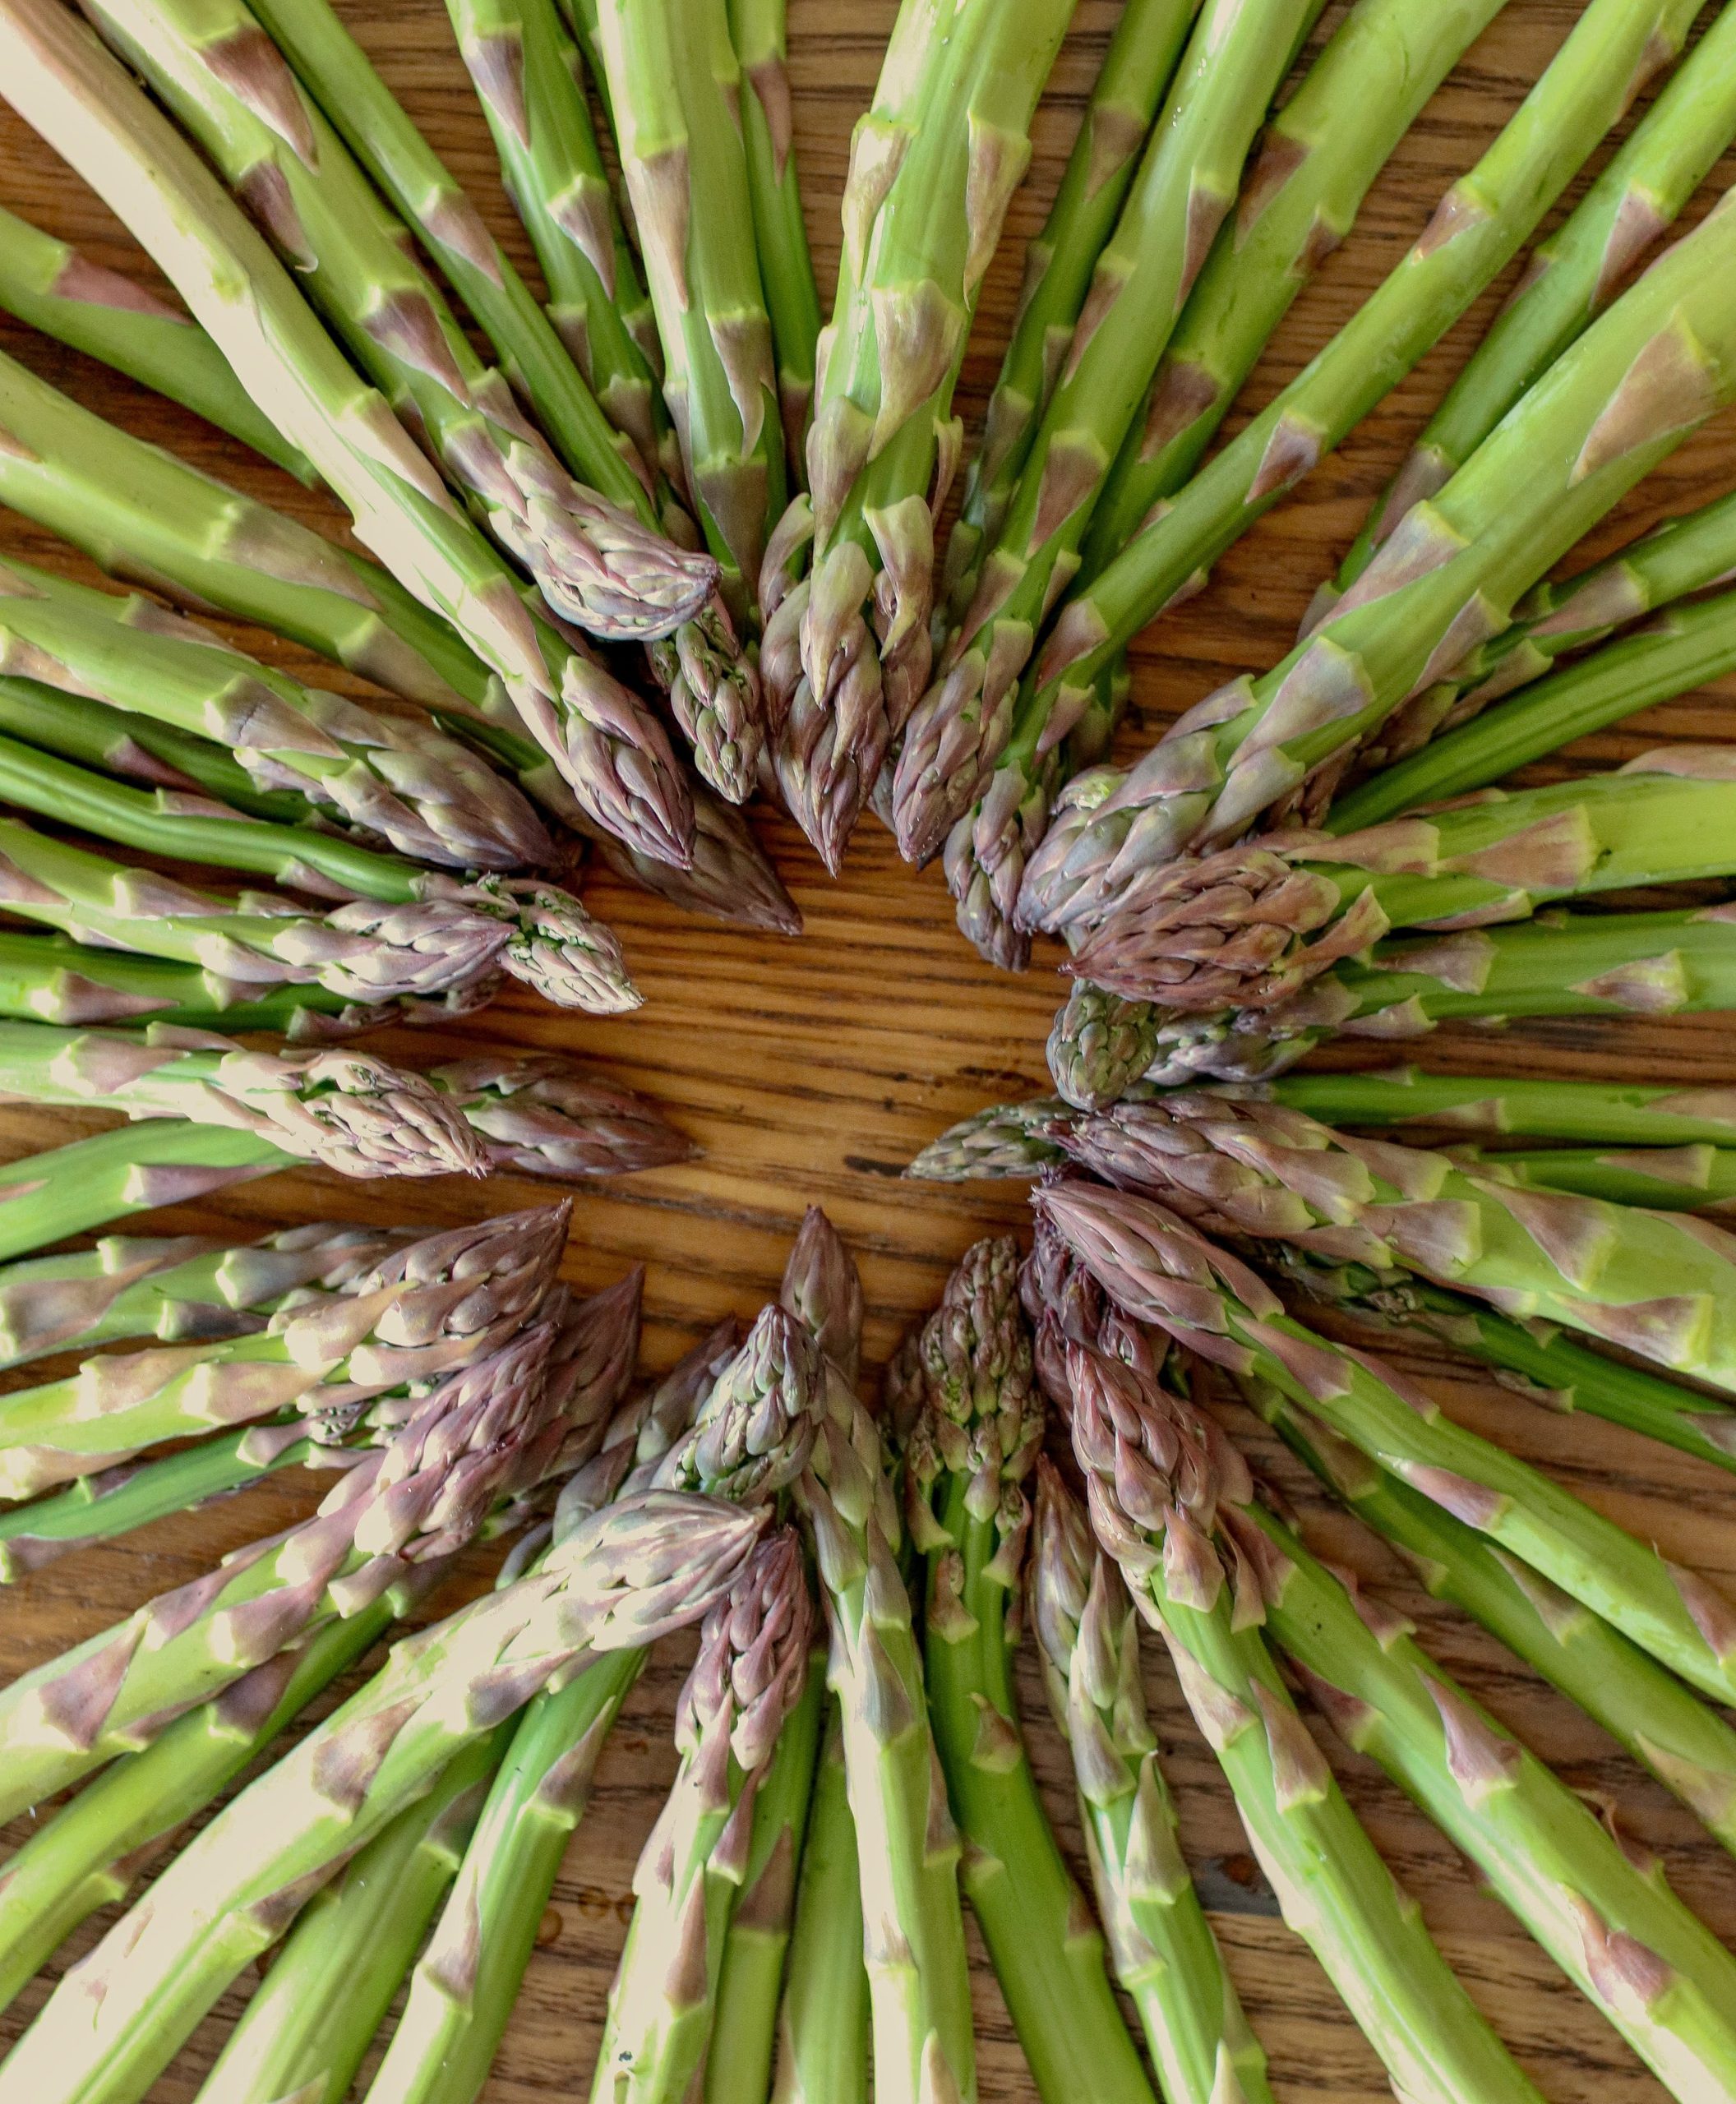
Heterohabditis bacteriaphora (Hb) attack beetles and weevils (also a type of beetle!) such as asparagus beetles, Japanese beetles, carrot weevil, Colorado potato beetle, flea beetles, ticks, and several species of flies among other pests.
If I am going to order nematodes, I tend to order at least 2 species. My rationale is that if I’m going to spend the money on one species (and often at that price I’ll have to pay for shipping), I can order multiple species and save on shipping and maximize the time investment to prepare the soil and keep it moist for the first 1-2 weeks. So I figure I may as well try to work on as many perennial pests as possible for my time.
A full list of what pests each nematode will parasitize can be found here.
To be Proactive or Reactive?
While with other organic methods like applying beneficial bacteria (Cease/Bacillus subtilis) or Surround (kaolin clay) as preventative measures, applying beneficial nematodes are more of a reactive measure. Because of cost, we only apply them when we notice a significant uptick in pest pressure, most notably root maggots that bore disgusting holes into our radish crop, rendering them largely compost material.
When to Apply
In general, applying nematodes in spring or fall is the best time due to insect life cycles. However, here I am applying in late summer because of an issue I saw in June (root maggot damage on my later radish successions) that I’m just now addressing. I’m rolling the dice on the efficacy, because this is how I garden.
Once you settle on the best time of year for your garden, always apply them either early in the morning on a cloudy or cool day (hot soils > 95F are no good for nematodes) or in the evening. Bonus points if it coincides with a good rain event. If rain hasn’t fallen recently in your area, be sure to give your beds a good soak before adding the nematodes with the Hose End Sprayer attachment.
We have always ordered our beneficial nematodes from Arbico Organics. I am leery of purchasing them as shelf-stable boxes in garden centers because they always come refrigerated (and live) from Arbico.
It would be remiss if I didn’t address the cost. Beneficial nematodes are expensive and a significant investment in your garden. While suppliers will say it’s best to apply them not once but twice over a few weeks (from separate orders, no less, because once you open the package you must apply it that day), we have only ever done one application of nematodes when we were working to address pest pressure. And it solved our issues. We made the decision to only apply them once based on economics, to be sure. I’m not sure if this is a marketing push or if there’s credence to this recommendation for highly infested areas; I’m guessing it’s a little bit of both, to be honest.
The packaging should come refrigerated and must be placed in your fridge as soon as they arrive. You can keep them in the fridge for up to 2 weeks, but it’s best to use them as soon as possible. I used ours one week after they arrived this summer.
How to Apply
You will need a Hose End Sprayer like this one in my Pest Management Amazon list. The instructions will want you to fill the hose end sprayer the full 32 ounces to measure how much it covers at 2, 3, or 4 ounces per gallon as set by the dial on your hose end sprayer. From there, you will know which setting will thoroughly cover the square footage you need to treat.
You will then divide the space and the package up evenly in 3 parts, and finally you get to start getting to work.

After you have your ounces per gallon adjusted, you’re ready to mix the microscopic worms into the canister and get spraying. I set our sprayer to 3 ounces for the first two applications, but when I had plenty left, I increased it to 4 ounces per gallon for the third and final application.
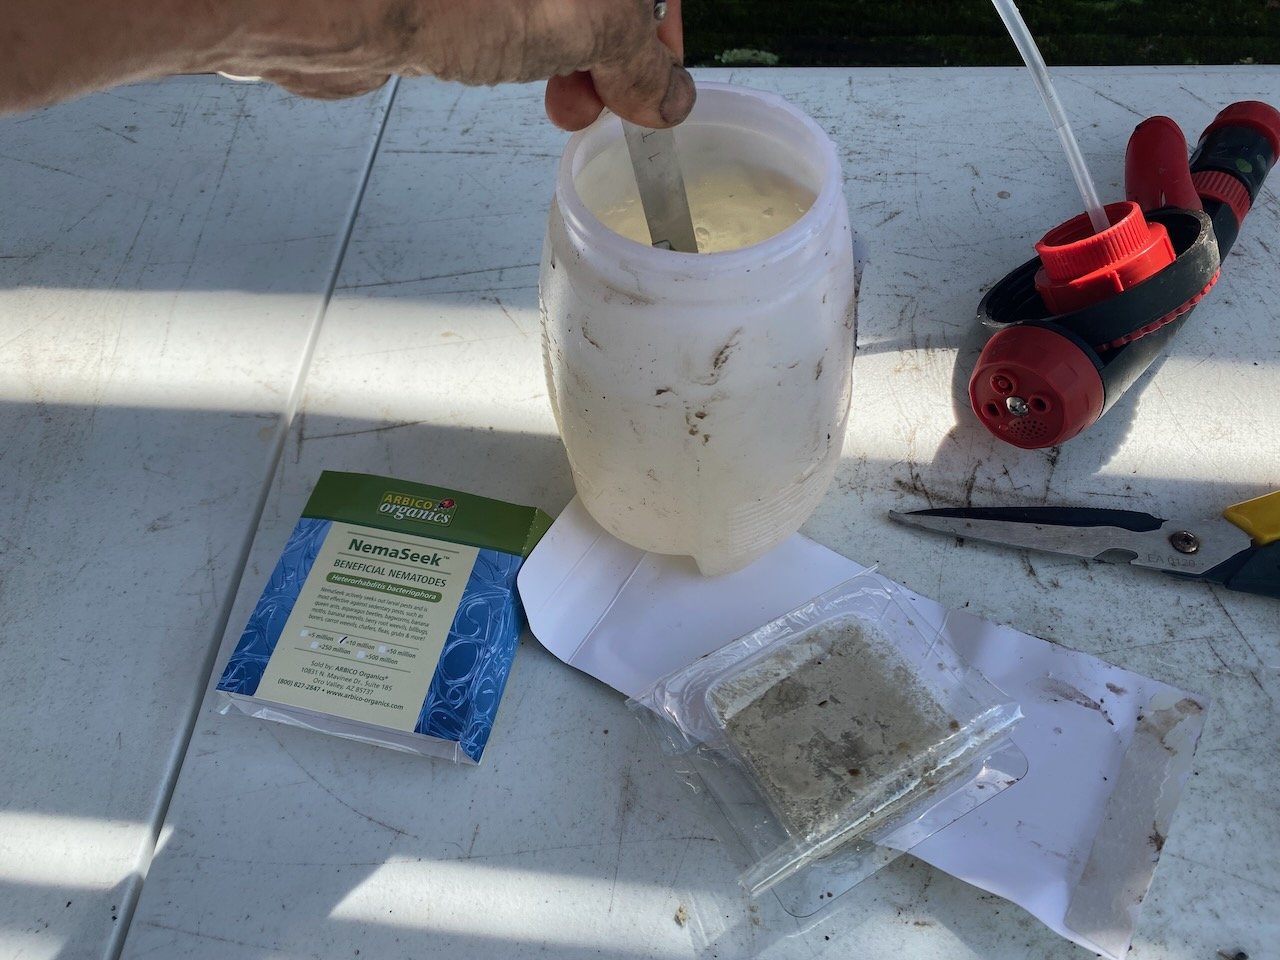
You won’t be able to spot any squirming nematodes because they are microscopic; they are in some kind of a carrier paste. It’s not a perfect science and I just eyeball my proportions using a teaspoon. Shake the container well before attaching the hose, and I also give it a shake every few minutes when applying to keep it well-mixed so I get an even spread, maximizing their effectiveness.

Once applied, be sure the soil is damp, and every few days if it doesn’t rain, you want to go through and water the beds well to keep the nematodes
How Quickly Will You See Results?
They are not instant, but nearly instant. Faster than a garden radish kind of instant. It will take about 2 weeks for nematodes to fully parasitize their larval hosts. As noted above, spring is a great time to apply them. Alternatively, you can choose to apply beneficial nematodes in the fall before winter to kill off any lingering pest populations ahead of winter. This is especially useful in colder climates like ours. Or, you can follow my lead and apply them when you remember and have time.
I hope you consider utilizing these microscopic predators for your organic pest management in your garden.
You might also like:

Get updated by email whenever there’s a new post
Comments
If you’re a subscriber, you can discuss this post in the forums
Leave a Reply