
Your cart is currently empty!
Determinate Tomato Trellising Experiment
Get updated by email whenever there’s a new post
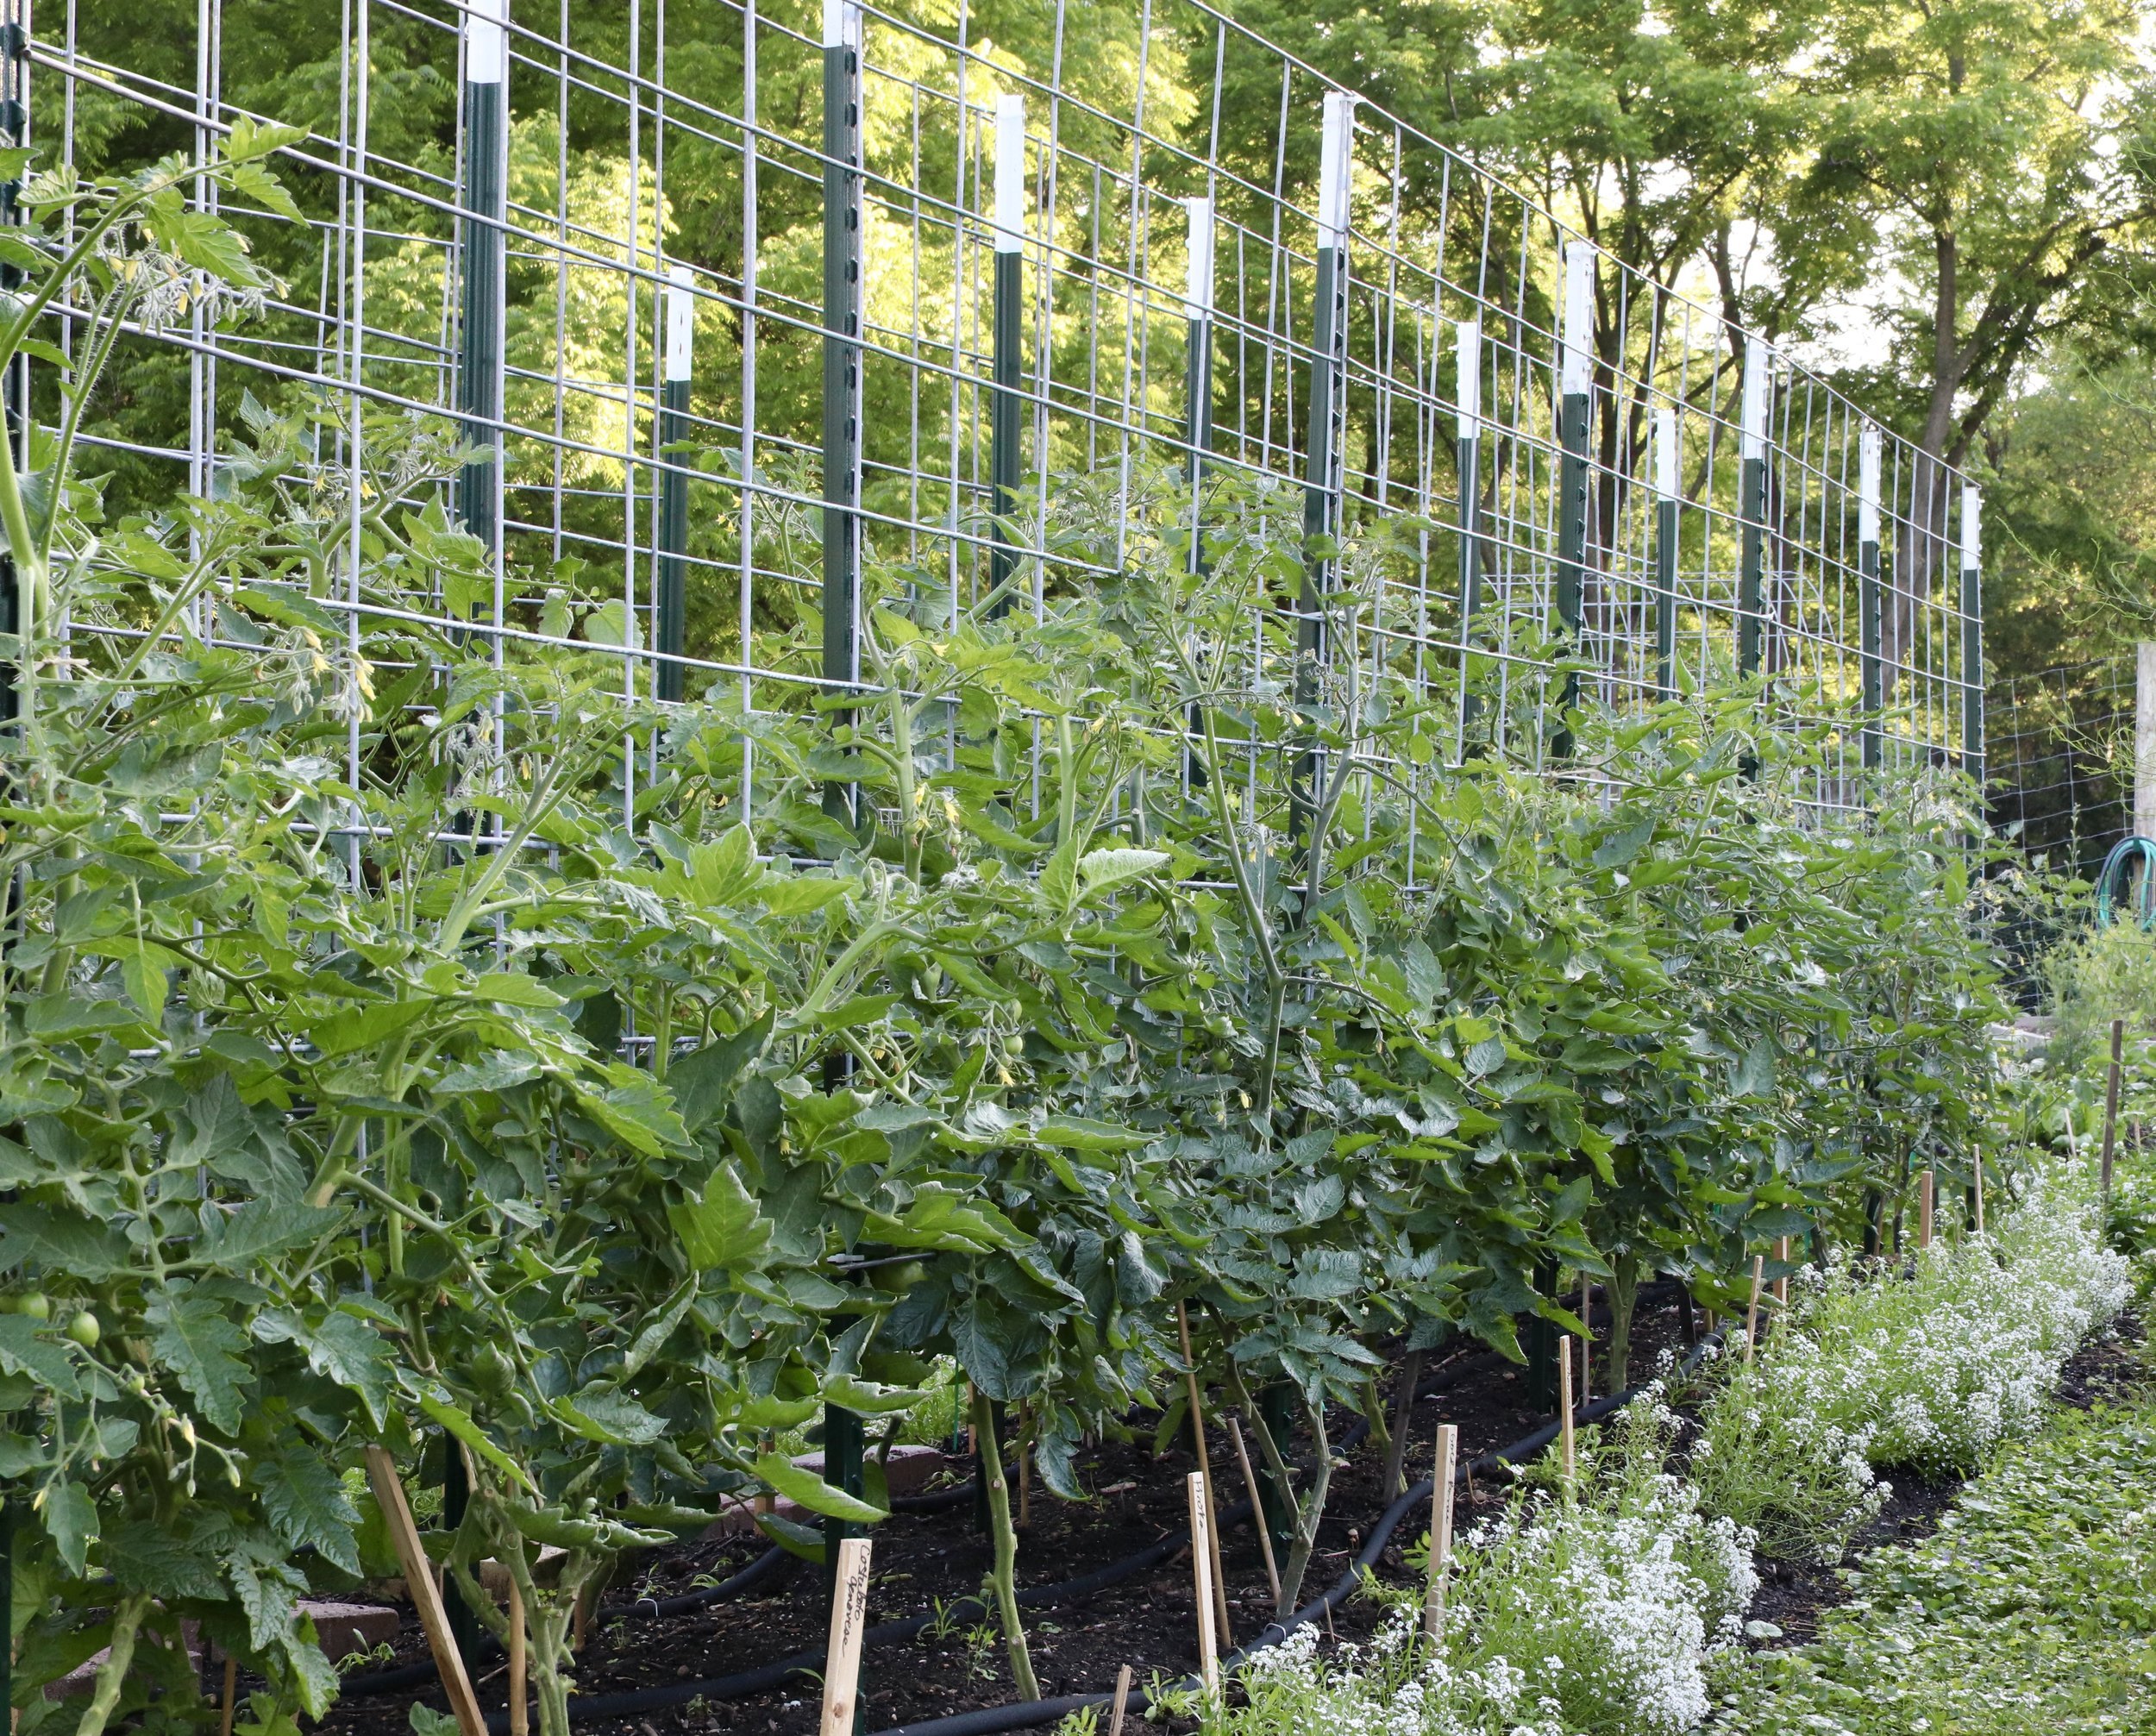
We love our cattle panels. They are economical, sturdy, and highly functional. They store easily behind the barn all winter and we’ve been using them for the past 3 seasons for our tomatoes.
We’ve used cattle panels in a similar manner for both determinate and indeterminate tomatoes. If you grow both you know they don’t have the same growth habit, and I’ve not been entirely pleased with the results for determinate tomatoes. I really wanted to think of a different way to support our determinate saucing and paste tomatoes, and as I was walking the garden this spring it dawned on me.

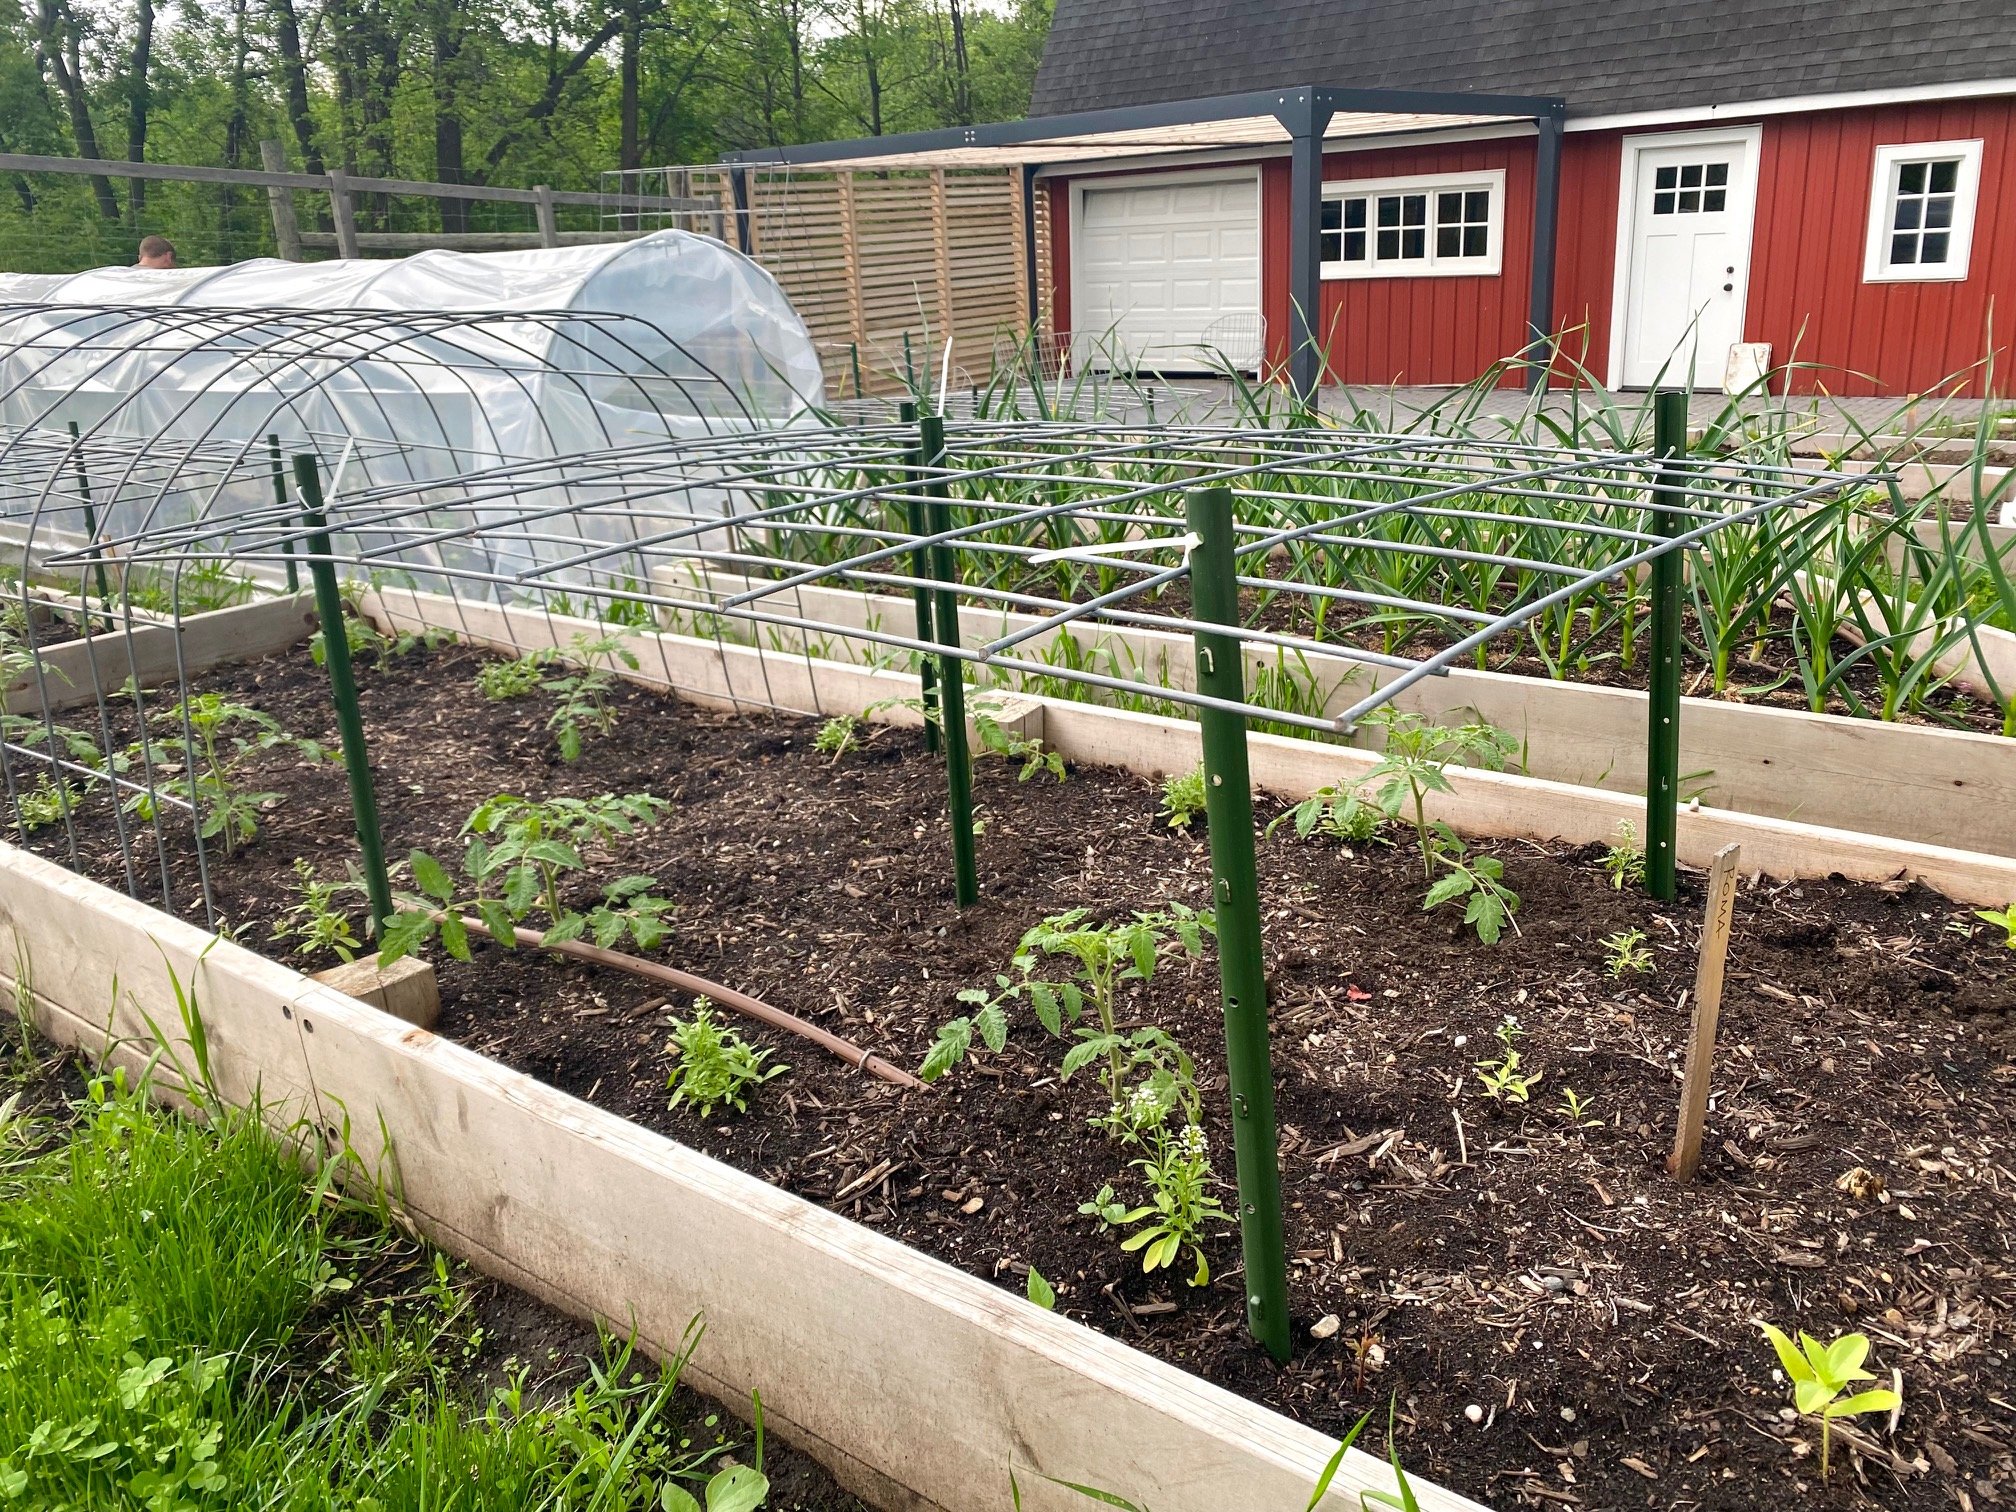
Turn the panels horizontal instead of vertical. I had already wanted to do something like this for the tomatillos, and in this moment it was decided. We would set our panels parallel to the ground, about 21” above the soil line, and secure with 3’ u-posts and zip ties.
What We Did
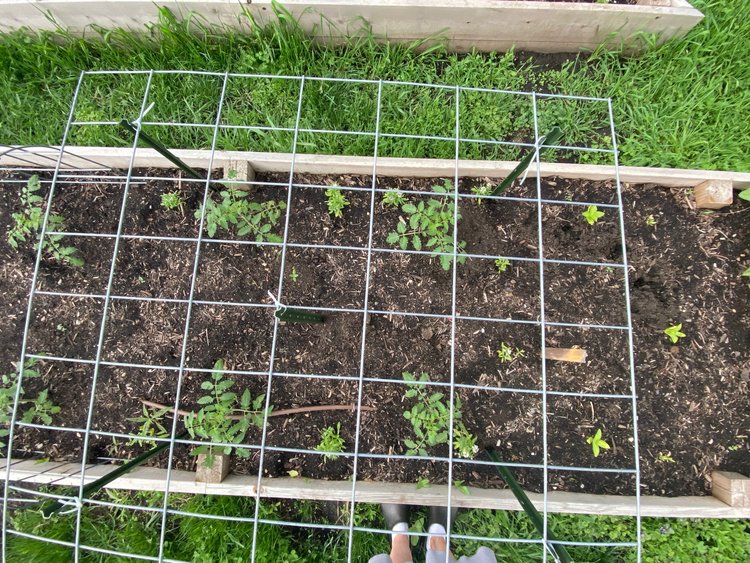
I made the best use of what we already had, and it turned out I just happened to have the right lengths for the space I’d already allocated for determinate tomatoes. That was lucky, because it usually doesn’t work out quite that well! I used a 6’ and 8’ long panel and spaced the plants out around 28” apart with 30” spacing between rows. This is pretty similar to plant spacing for my indeterminate tomatoes too, though recently I’ve read you can space determinate plants closer together.
Cattle panels are 50” tall (or in this case, wide). Our beds are 48” wide. I didn’t want to modify the panels as this may be a one season flop, so I wanted the panels to remain intact throughout this experiment for maximum flexibility for future trellising needs. It works perfectly though — I centered them so only 1” hangs off on either side and the lawnmower can get down the paths without bumping into these at all. This was my most pressing concern when I decided to try this out.
This wide angle photo grossly over-emphasizes the overhang of the panel into the paths, but what I want you to notice is the 5 posts and zip ties securing this 6’ long panel.
For the 6’ length, I used 5 stakes — about 1 foot in from the corners and one in the middle. I will eventually add stakes (likely cedar as we have lots of small cedar stakes in the barn) to help the plants reach the trellis, but for now they are settling in and putting on new growth.
For the 8’ panel, a common length for our indeterminate trellises, I used a total of 8 stakes — 3 on each side and two equidistant in the middle. The middle stakes are critical for stability and future tomato gluts weighing the panel down as it really locks the panel in securely.
How We Liked It
We LOVED this new way to trellis determinate tomatoes. We are now using it for our tomatillos, too. I could even see this work well for peppers also, but I haven’t tried it for that yet.
The one thing we didn’t love was how close we spaced our tomatoes last year. It was the only tomato bed to exhibit a fair bit of disease pressure (and it was our Paisano plants in particular). So instead of two parallel rows, this year we did a zig zag pattern which should give the plants more breathing room. It did require allocating more square footage to these plants, but since they are a weekly staple, it seemed a reasonable ask to allocate more space to them.

Get updated by email whenever there’s a new post
Comments
One response to “Determinate Tomato Trellising Experiment”
If you’re a subscriber, you can discuss this post in the forums
-
I wonder if it would be helpful for large eggplant plants as well (the peppers made me think of it).
Leave a Reply