
Your cart is currently empty!
The Direct Seeded Garden
Get updated by email whenever there’s a new post
There are so many delicious and nutritious foods that anyone can easily grow in just about any space or container by simply plopping seeds into some rich, well-draining soil. At its core, it embraces the simplicity of nature, fueled on the hope of a seed and intrinsic resilience therein.
This article will highlight the many types of veggies that grow best direct seeded, without the hassle of getting a head start indoors including investing in plant stands and grow lights and seedling mats.
It’s the most economical way to grow food.
That being said, I do love to start many things indoors, and even some things that do well direct sown. In large part, that embodies my passion for pushing my growing season as far as possible, not an indication that the plant needs that start to succeed. Beets are a great example of this. A contentious one, too. Many farmers only believe direct sowing beets but I’ve learned by trial and error that my indoor sown beets that have that little bit of a head start produce earlier than my direct sown beets. And setting out a larger plant means it’s naturally more resistant to pest pressure.
The keys to a productive organic garden are well-draining and well-amended soil, ample sunlight, and the right amount of moisture. Sounds easy, but some areas have native soils that are heavy clay and while holding a lot of water and very rich, they make it difficult for fine roots to grow and plants can easily get waterlogged and become stunted. On the other end of the spectrum are wonderfully sandy soils, the wellest-draining (yes, I made that up!) of the well-draining soil types, places where nutrients and water simply leech down and out of the soil making it very hard to keep your plants well-fed during the growing season — although waterlogged plants are never an issue. An ideal soil has enough structure to hold moisture and plenty of compost to add nutrition and invite in the micro-organisms to work their magic for you.
Additionally, there are sweet spots for growing food. Early season vegetables can germinate and grow in soil as chilly as 40 degrees, although I’ve found 45 and above to be their happy place, while hot summer crops need really warm soil to thrive so it’s a fool’s errand to attempt otherwise. As I share these veggies with you, I will generally move across the garden seasonally, sharing what to sow earliest during the chilly late Winter/early Spring weeks through to late Spring/early Summer when the soils are properly warm and the days getting hot.
There’s a fine line between pushing your season and setting yourself up for failure because you’re trying to start things at the wrong time. Timing is everything in the garden, and particularly when sowing directly into the garden. I want you to be successful, and that means timing your sowings properly, and becoming proficient at challenging tasks such as waiting for Mother Nature to warm your soil in spring before you dive in and drop seeds in the ground.
On to the good stuff. Let’s grow a garden from the ground up.
Radishes and Leafy Greens: What Early Season Salads are Made of
Want food fast? I can think of no other fast food than a radish. A radish is a fantastic addition to all gardens, a wonderful first seed to plant with children because of its rapid growth and maturity, and, the best part is, you can eat the entire plant around a month or so from seeding, even in early Spring. Always direct sown right into the garden and maturing in mere weeks, radish are a very easy food to grow. Some of my favorite radish varieties include Sora, Easter Egg II, Viola, and Red Head. I usually rinse my radish leaves off and quickly wilt them while my eggs are cooking in a hot skillet – a great way to add veggies to the start of your day.

Sowing Tips:
Radishes should be sown about ¼” deep and covered. Lightly loosen soil with a hand trowel, making a mini-furrow for the seeds. Sow about 1 seed every ½”-1”. Thin radishes to 1-2” apart after the first set of true leaves appear.
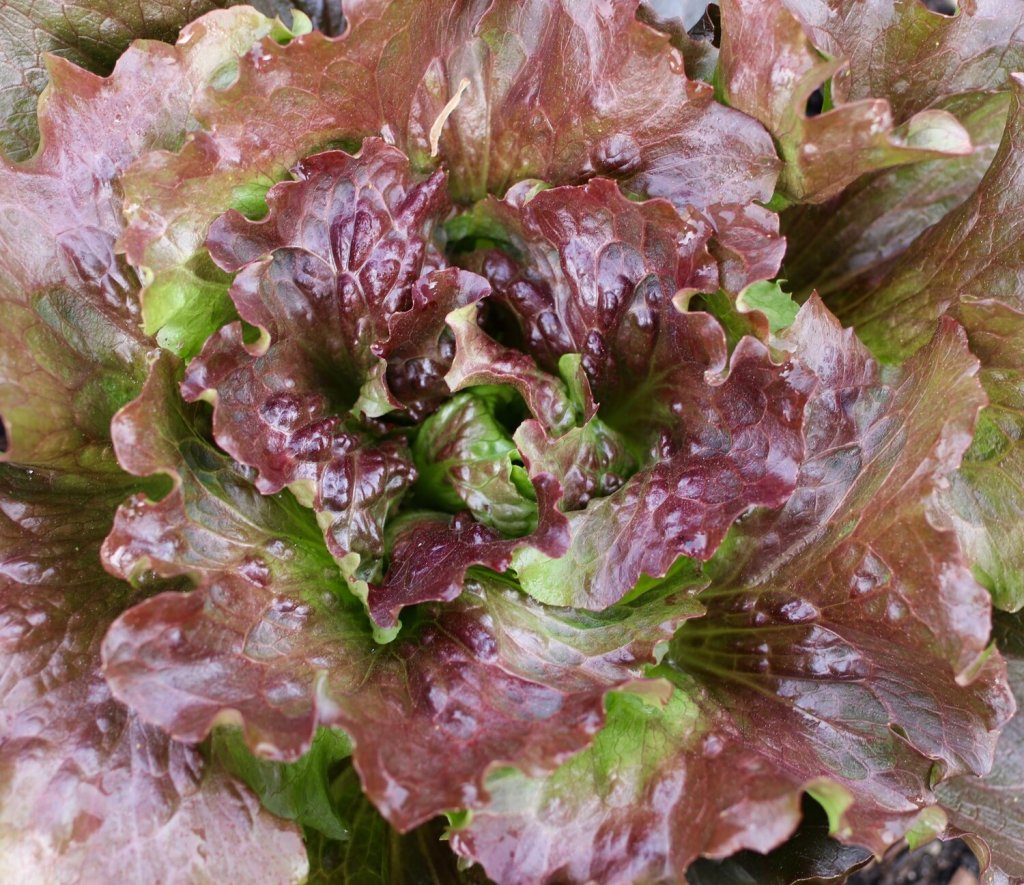
There are an endless variety of greens to choose from, but I’ll focus on what we like to grow from seed. Again, because I prefer to push my season, I do, in full disclosure, indoor sow most (alright, all) head lettuce to give it a jumpstart on the season.
However, arugula does equally well sown indoors compared to direct sown. In fact, in my current trials I’d say I prefer direct sown arugula over what’s been indoor sown and transplanted. We grow Rocket and Astro Arugula, and, like radishes, this is a near fast food in the garden when the growing is good in the early season, producing small harvests around a month to six weeks from sowing.
There are many baby leaf lettuce mixes, too, that can be harvested quite quickly and include a wide variety of greens that make a robust salad all on their own. Check the days to maturity on the back of the seed packet and select a variety that has the shortest number of days to maturity for the fastest harvest.
If head lettuce is what you’re after, you can absolutely grow that from seed as well. Sow it in early Spring for a late Spring harvest. Head lettuce is a bit more of a waiting game and so we always choose to sow it indoors to give it a leg up again slugs and other pest pressure.
Sowing Tips:
Lettuce is any easy seed to accidentally over sow because the seeds are so thin and slippery. Not to worry, you can just plan to snack on the babies as you thin them out to a wider spacing. Thinning is the process of removing some of the baby plants to give the strongest ones more room to fully mature. Be brave and poke around and thin your plants to the appropriate spacing. Leaf lettuce you can leave closer together while head lettuce needs a bit more space to fully develop their namesake heads.
Peas – Snow, Snap, & Shelling
Another crop we only direct sow, peas require a few months from sowing to harvest, depending on the variety, because the plants need time to fully mature and flower in order to enjoy their fruits (pea pods). But they are definitely worth the wait, a very satisfying food to grow from seed. It’s probably my favorite spring garden treat, and I’d like to think I’m the first to eat one each year, but realistically it could be any one of our family who snags the first mature pod, likely on the sly.

Last Spring’s snow and snap pea harvests were about as good as we’ve ever seen them. Peas produce from seed in 2-3 months, much sooner if you’re after the tender shoots. We wait for the pods, personally, and they are one of the sweetest treats from mid-to late-June through mid-July here.
We have been direct sowing our peas earlier and earlier in recent years, exploring sowing them under row cover as well as uncovered, and this Winter we sowed them April 1. The shelling peas that were sown under row cover germinated about a week before the uncovered peas, but they all sprouted within 3 weeks of sowing and right after an April cold snap and light snow storm. We enjoy growing Oregon Giant snow pea, Sugar Ann snap, Opal Creek snap, and are growing a new shelling pea this year called PLS 595.
Sowing Tips:
Soak peas in warm water the evening before planting them. This helps hydrate the large seed and thus expedite germination. This is a method often implemented for beans, too, but peas so far are the only vegetable whose seeds we soak prior to sowing. The seeds need to be buried a good ½-1” deep. We sow seeds 1” apart in two parallel rows and don’t thin the plants once germinated. Peas are one of the rare plants that seem to do well in tight growing conditions. Peas germinate fastest in soil 45 degrees or warmer, but can be sown at the same time you tuck your first radish seeds in the ground.

I add a popsicle stick label and plenty of water because these seeds are thirsty things, and tuck these on a warm seedling mat overnight before sowing to help hasten germination.
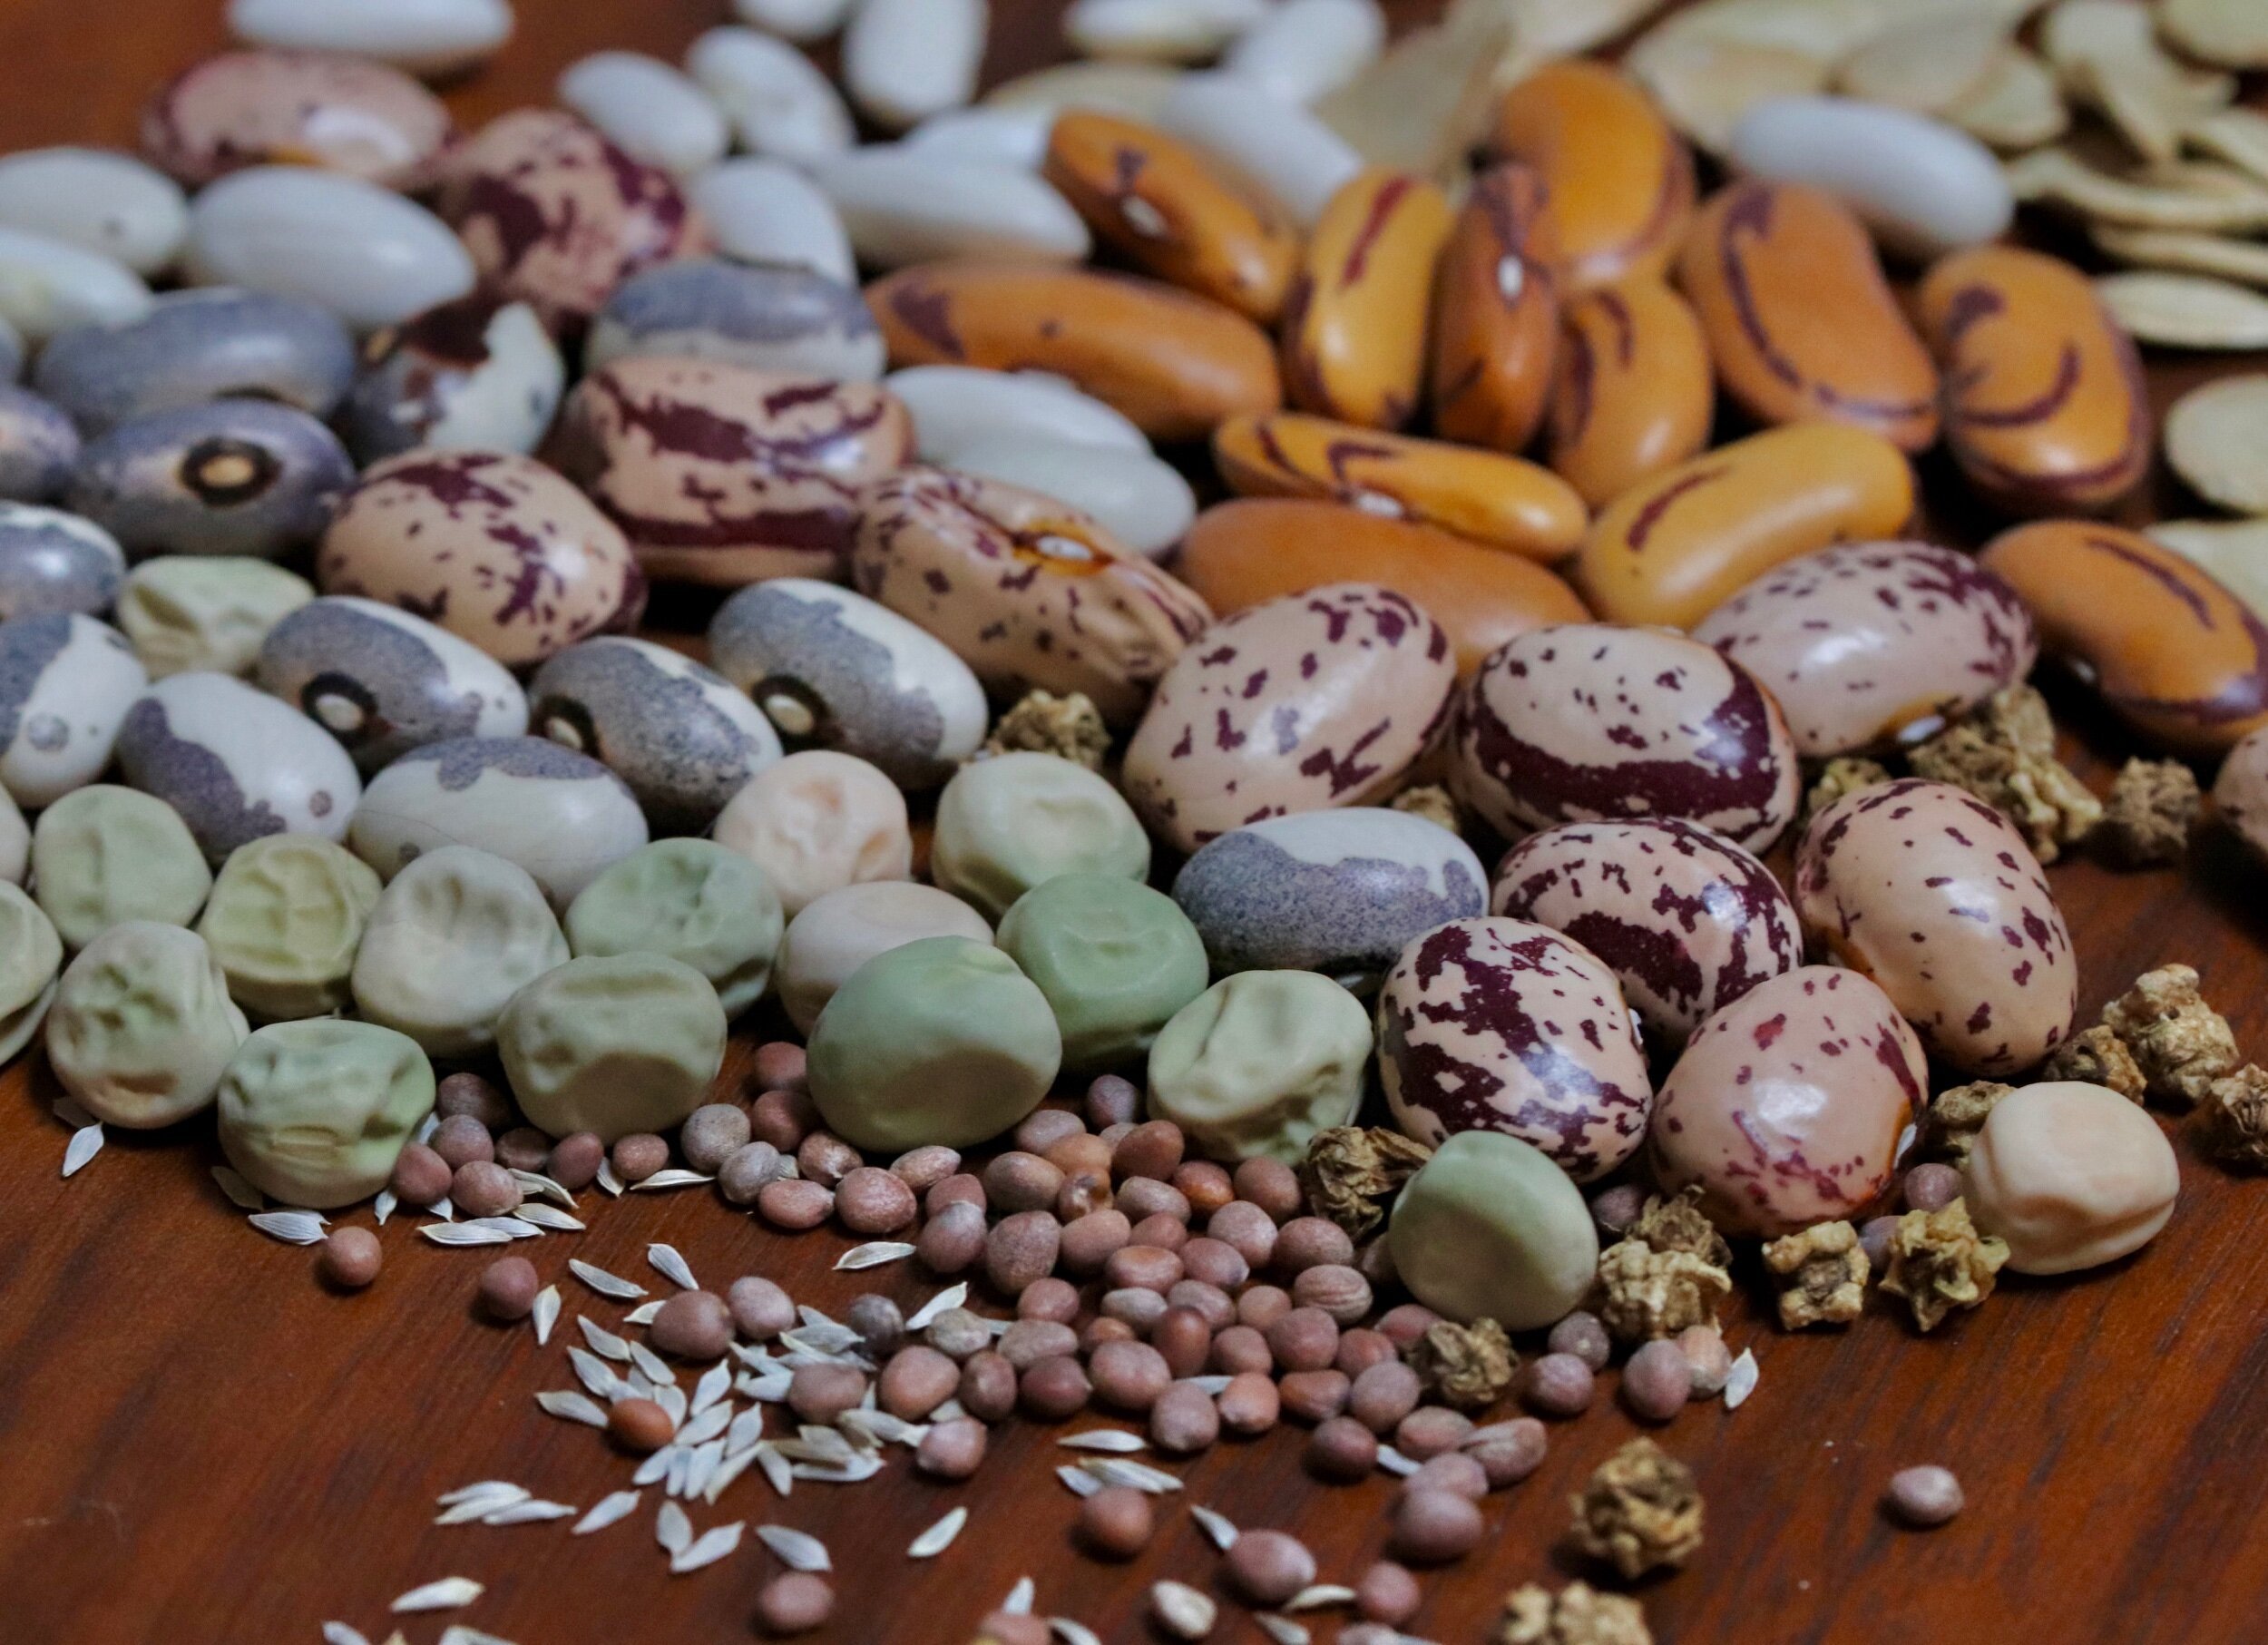
The Wonderful World of Beans: Shelling (dried), green (snap), & edamame
So many fabulous options abound in the world of beans, and we enjoy growing a little bit of everything. From bush to pole green (also called snap) beans, from edamame to heirloom shelling beans, we love growing a wide variety of beans. And beans are relatively fast to mature which makes them a must-grow in your direct-seeded garden.

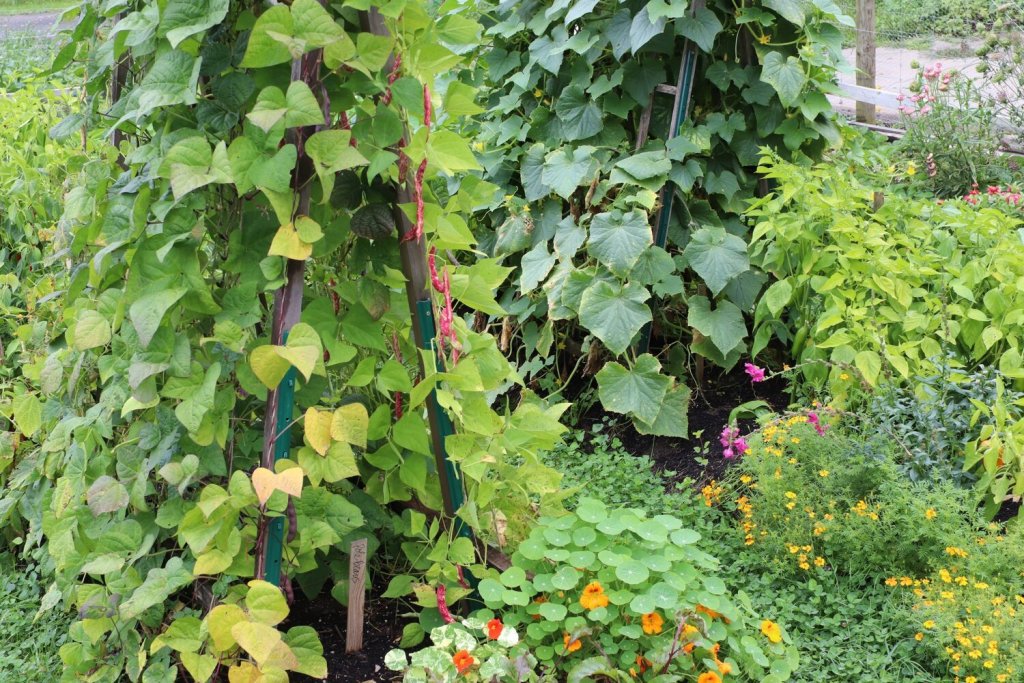
From long beans to your standard green snap bean, green beans are one of my favorite foods to grow and eat during the height of summer. Seen here are Chinese Red Noodle beans (long beans), Purple Podded, Dragon’s Tongue (white speckled), Jade (the larger portion of green beans) and Fortex (lighter green).
Beans, like peas, take only a few months from seed to harvest. With such a wide variety to choose from – and with that comes a wide variety of days to maturity. On average, we yield beans in about 2 months after sowing, give or take a week or two. A hotter weather crop, they do well being sown about 6 to 8 weeks after you sow your peas, so think of this crop as coming in after your peas are all finished for the season (for us here in Minnesota, that’s usually in early- to mid-July).
Beans exhibit a few distinct growth habits: bush or pole. Short on space? Grow up, and go for pole varieties. Read my blog post on vertical gardening for more ideas on trellising. Pole beans are an indeterminate vine and will just keep growing until first frost. I always sow some pole beans, and appreciate their longevity once mature. However, I have anecdotally found them more susceptible to Japanese beetle damage than bush beans, our green varieties in particular. We had been growing Fortex for many years; we also grow Purple podded and are adding Carminat (purple pods) and Seychelles this summer to test my hypothesis about beetle damage.

Have a little extra space? Grow some of each and enjoy the benefits of both. Bush beans tend to produce over a shorter window of time. Although they grow low, they do appreciate some support. I like to add stakes and wrap twine around the plants as they grow up to their full 24” height. It prevents them from flopping over in high winds or heavy rains while ensuring the food remains up off ground level where lazy foragers like slugs might otherwise stumble upon – and devour – your crunchy snacks.
Our favorite bush varieties are Velour, Jade, Dragon Tongue, and Maxibel Haricot Vert. We’ve added a yellow wax this year called Gold Rush. Dried beans are new to us and we are enjoying Dapply Gray, Borlotti (Speckled Cranberry), and Tiger’s Eye as our favorite to both grow and for their superior culinary texture and flavor.
Sowing Tips:
No soaking needed. Because the seeds are so big, planting the just right amount is quite easy to do. Sow bean seeds 3” apart. For pole beans, be sure to have your trellis installed prior to sowing seeds so you don’t disturb your bean seedlings while installing the support structure. In the right conditions, beans germinate and establish very quickly and make a very fun and delicious crop to grow from seed. Don’t plant your seeds too close together because proper spacing and thus air flow will reduce disease pressure. We sow our beans starting in late May through mid-June here, when soil temperatures are 60F or warmer.
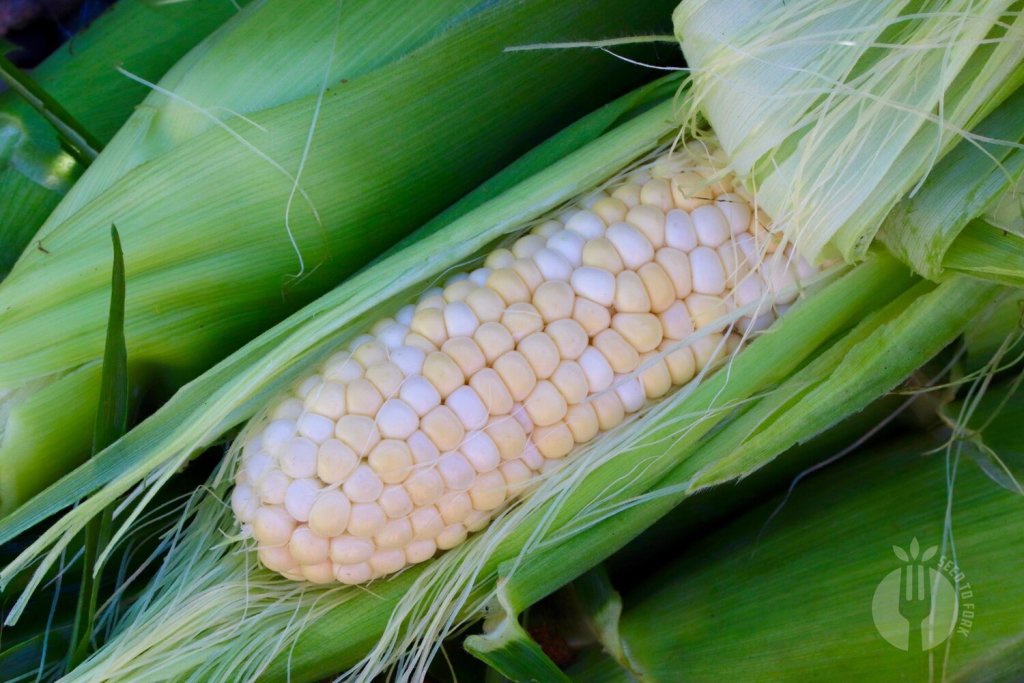
The Epitome of Summer: Sweet Corn
Sweet corn, cornmeal, popping corn. You can easily grow it all at home! It’s a bizarre agricultural crop, having been loved so much its grains now grow many times larger than its ancestor’s, packed with so much sugar we’ve all gone crazy for it. Well, not all of us. But a lot of us.
I have seen many gardeners start both corn and beans indoors, and I’ve never considered it necessary here. I am assuming they do this to prevent bird or other pest damage and to give their plants a leg up against predation. So, it might be useful in your area, but I generally go by the rule of thumb, the larger the seed, the more likely I am to direct sow it. And corn is no exception to this rule: I always direct sow this vegetable.
Corn can quickly get confusing with problems of cross-pollinating between types of corn. My recommendation is to choose one seed type (a super sweet hybrid, perhaps) and plant that out in a small block. This will avoid cross-pollination issues that may result in less starchier, less sweet corn. You can also stagger plantings if you have the space, sowing our corn 10-14 days apart so they pollinate at different times. Again, if you are growing only one variety this is a non-issue.
Corn is wind pollinated and it’s recommended to have a minimum of 4 rows for corn. We have grown as few as 3 rows of corn in a 3×4 area in our garden and had great pollination rates. We do shake the stalks when the corn is tasseling to encourage the pollen to drop down to the silks. It’s truly a fascinating plant, and I should write in more detail about it in a future blog post, but the takeaway, is drop those seeds in the ground and give enough space for proper pollination — otherwise you’ll have the dreaded cobs that are half filled with kernels, and no one wants that.
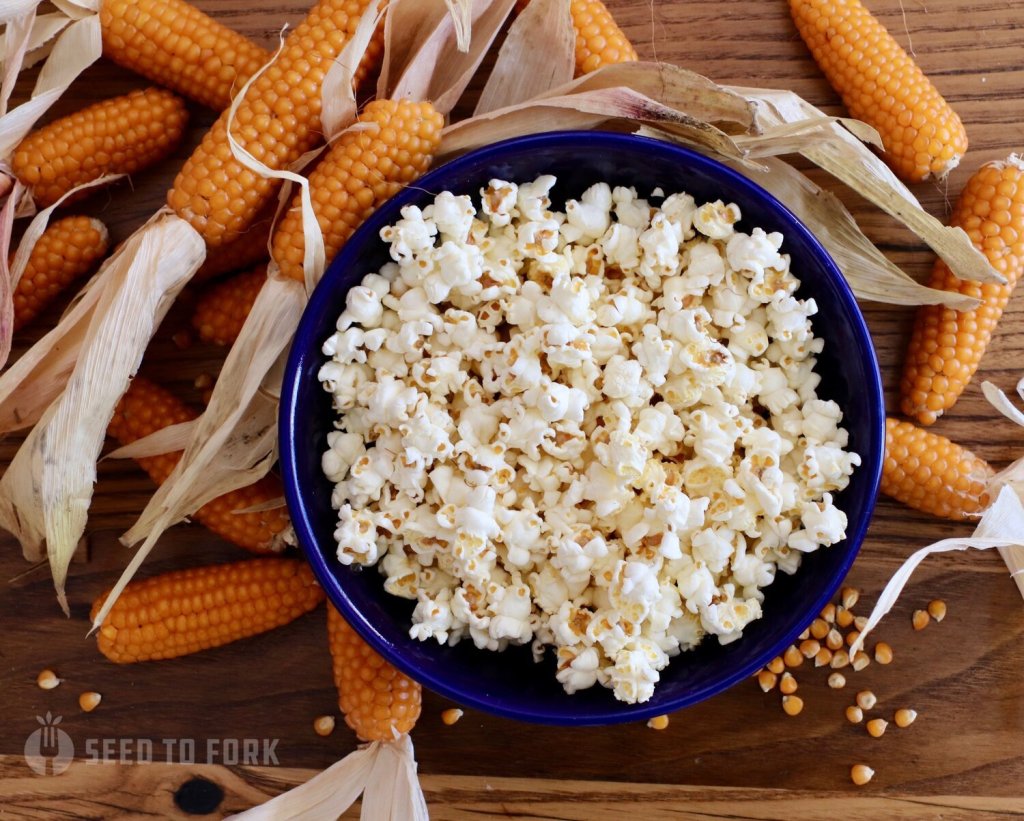
Our favorite corn varieties to date are American Dream super sweet (sh2), Tom Thumb popping corn, Northstine Dent (for cornmeal and flour) and Robust (a hybrid popping corn).
Sowing Tips:
Sow corn seeds 6-9” apart in rows 24-30” apart. There is a proper spacing to growing corn and overplanting can be a hindrance to success. These guidelines are the closest you can plant corn. Corn is sown when soils are warm, 60-70 degrees, so before your summer squash and around the same time as your beans. Sow the seeds 3/4 to 1” deep. If germination is high, I go through the rows and try to thin to 8” apart. I have successfully transplanted corn seedlings within my planting to get the proper spacing.
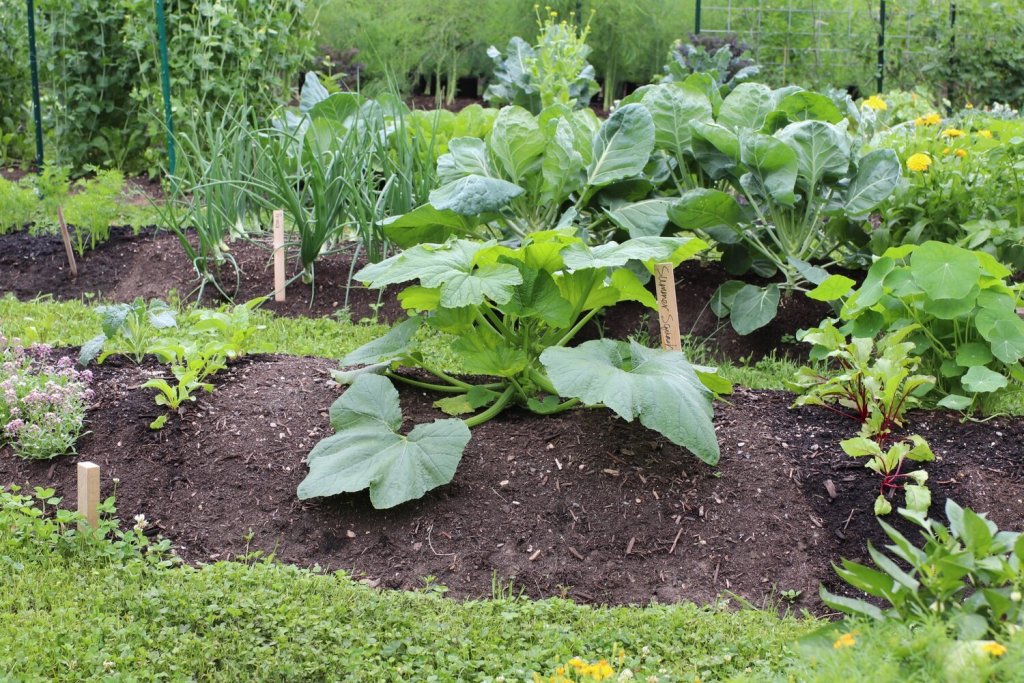
Meet the Cucurbits: Squash, Cucumber, Pumpkins, Winter Squash, and Melons
A true sign of summer is a basket of zucchini and cucumber. A vine-ripened cantaloupe. You cannot achieve this glory in the shoulder season. These are true seasonal delicacies that herald the warmest months of the year. We love growing all of these plants, and they all have relatively similar growing conditions. Basically, bring on the heat.

The biggest caution I share with this group of vegetables is be sure it’s good and warm before you sow. To drop the seeds directly into the soil you need soils to be even warmer than our previously discussed vegetables. These plants do not thrive cool soils. In fact, I’ve lost starts due to prolonged damp and cool June weather in the 60s. You need really warm soil, a minimum of 70F but warmer is better, for these seeds to sprout happily and thrive.
Cucurbits are a true summer crop and trying to push the season may result in disappointment and crop loss. Take it from the grower who’s lost entire plantings twice in one season due to a prolonged spring that went deep into June!
The other main commonality with most of these vegetables is that they are vining. While some are short vines, I provide support for all of my cucumbers, winter squash, and melons. I let my zucchini ramble on the ground, but this summer I may take them vertical, too, and see how I – and they – like it.
We grow 4 slicing cucumber plants annually on a single trellis, two on each side, spaced 24” apart. We also grow about 5 pickling type cucumbers which yield us enough to give away generously, pickle, and eat whole like apples in the middle of the garden. It’s easy to overdo these crops, and sometimes less is more.
Anything over 2 squash plants and we are drowning in them by mid-August, so less is ideal with summer squash, though I admit it’s hard to narrow it down to just one per year. They are space hogs so I never grow more than 2 summer squash.
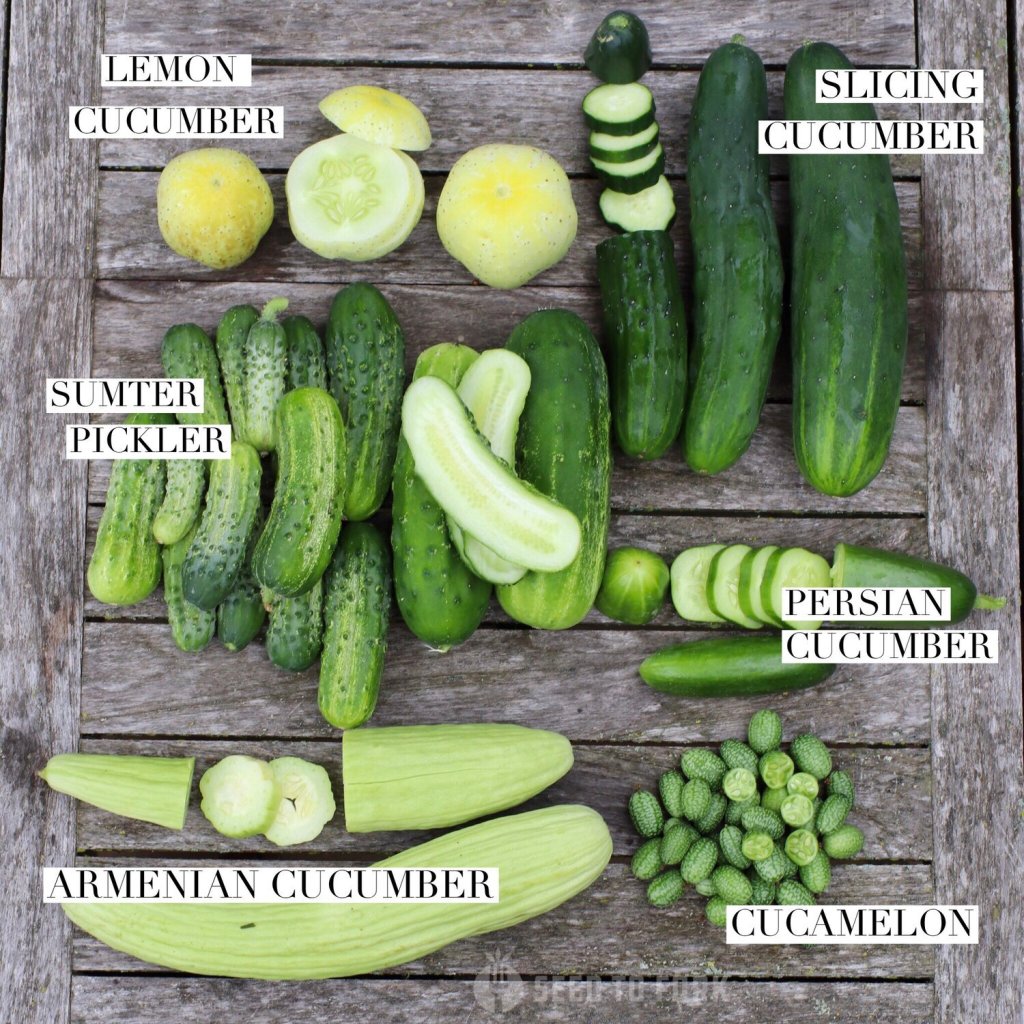
We enjoy growing many varieties of cucumbers, and continue to explore the possibilities, including many new varieties this year. Some standby producers for us are Sumter (pickling type) and Marketmore76 and Poinsett (slicing varieties). For summer squash I enjoy costata Romanesco and yellow crookneck. For winter squash, delicata and Waltham butternut are our favorites.
Sowing Tips:
Wait to sow these seeds until several weeks after your last frost. On an average year here, I wait to sow them until the end of May or early June, but choose a stretch of warm weather to follow sowing them in the ground. Like with the pole beans, I install my trellises before I sow the seeds. Sow a few seeds per hole and thin to one. Generally, I space my melons, cucumbers, and winter squash 18”-24” apart on a trellis. Summer squash is one plant per 4×4’ area.
Full Disclosure: I give these plants a minor head start indoors. I use my 3.25” newspaper pots and sow the seeds approximately 3 weeks before transplanting. This does two things: allows me to plant strong starts and gives the soil those extra weeks of warming before planting. I still plant them around the same time I’d have dropped seeds in the ground, it just gives my season a little extra bump in productivity. In warmer climates, this is a completely unnecessary step.
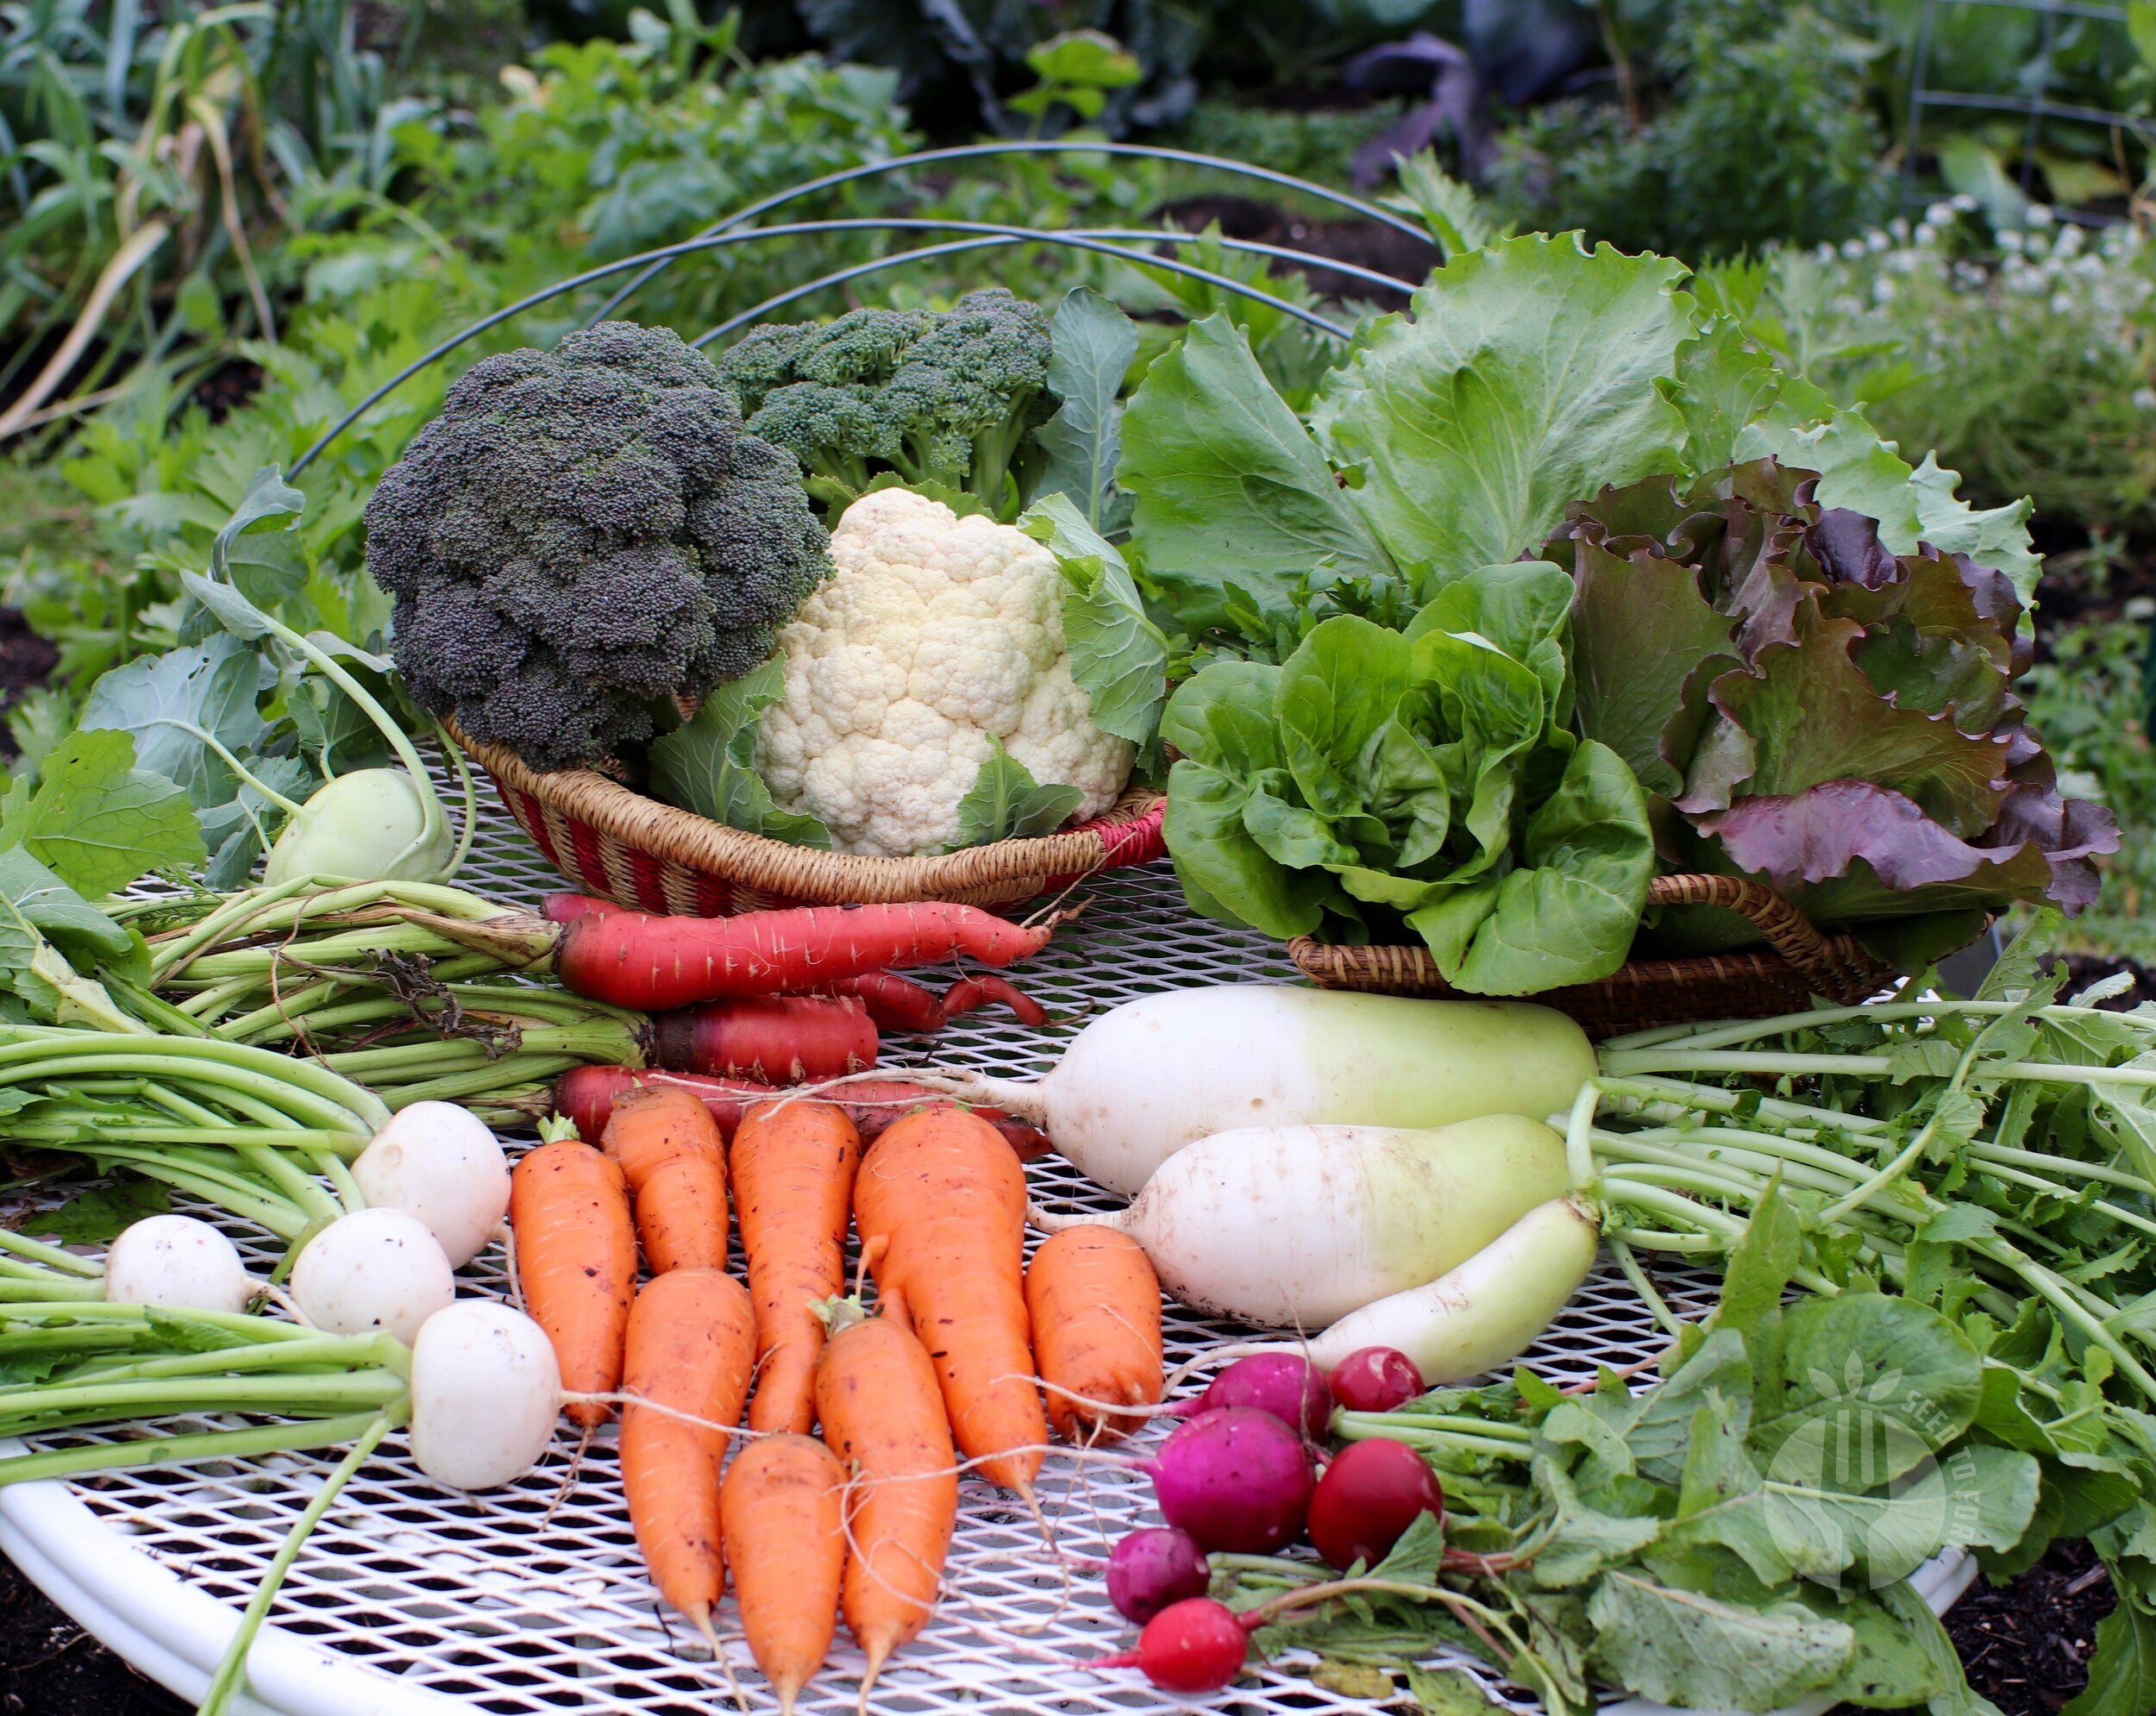
The Trusty Roots: Carrots, Beets, Daikon, Turnips, and more
There are so many wonderful root crops you can easily grow from seed, with a simple but important caveat. Similar to those earliest radishes mentioned earlier, they need some really good soil in which to expand and mature. If you are trying to grow in your native soil and it’s heavy clay, you will have a hard time growing great roots. Try using containers if your soil is really heavy or consider growing the atlas carrot, a rounded carrot that grows well in all soil types.
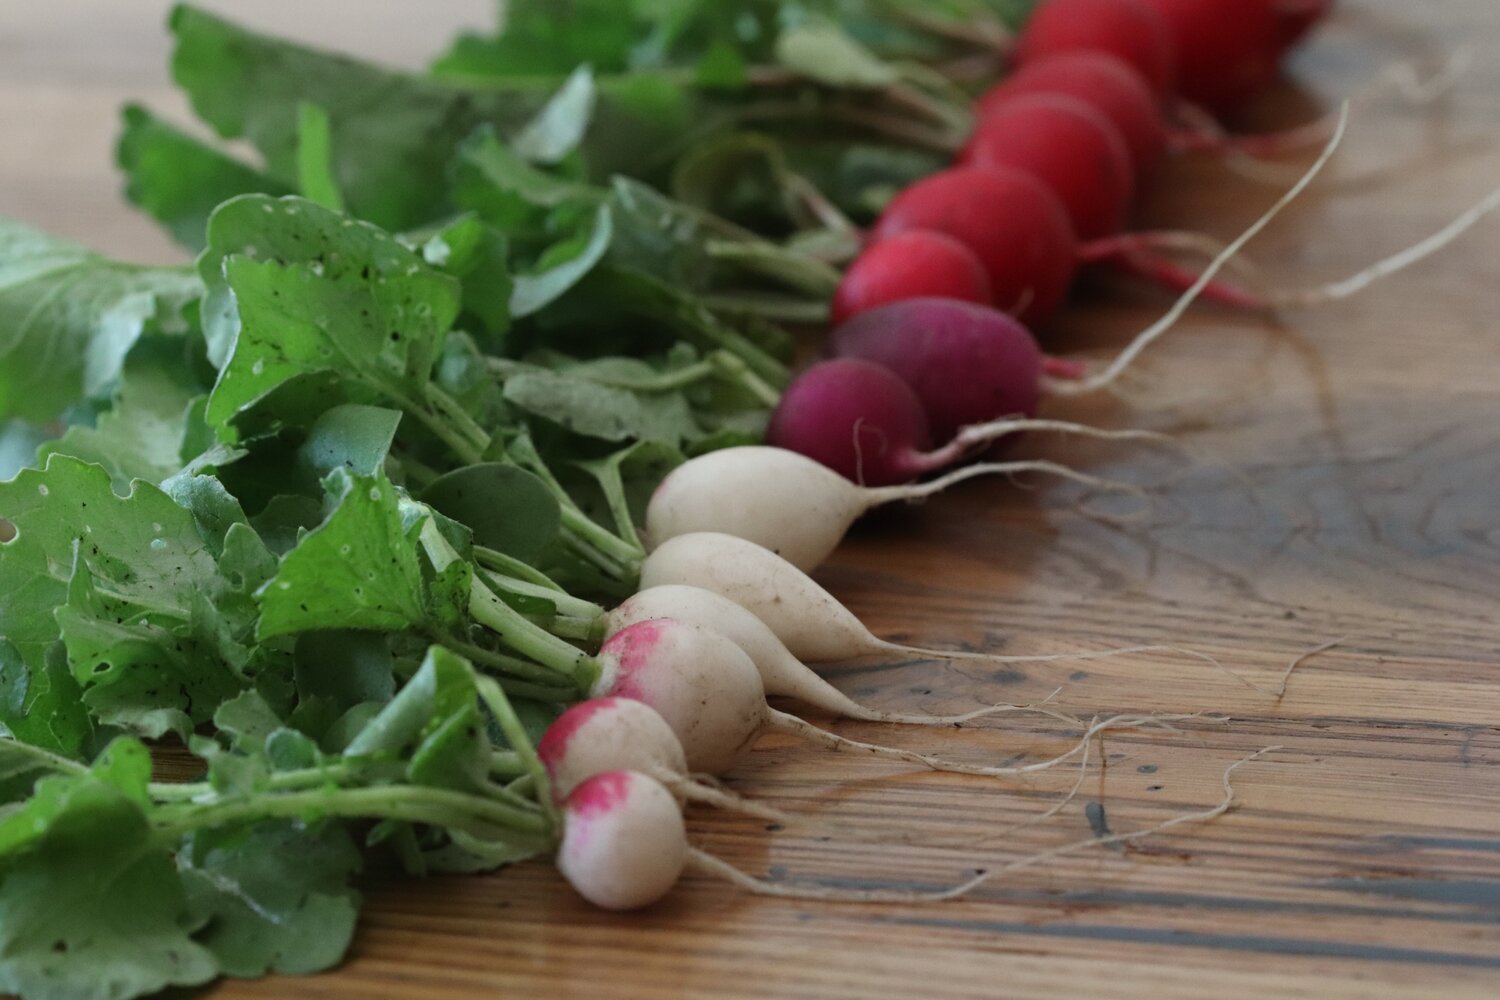
The wonderful world of root vegetables includes many delicious varieties of radish, some of which are seen here. From top left clockwise: beauty heart, alpine daikon, black radish, viola daikon, viola radish and center sora radish.
The beauty of these crops is there is no indoor sowing. Like, ever. It’s plop seeds in the ground for all of us, from the big agricultural farms to little old you and me. Although you and I don’t have machinery, we just use our hand trowel and hands.
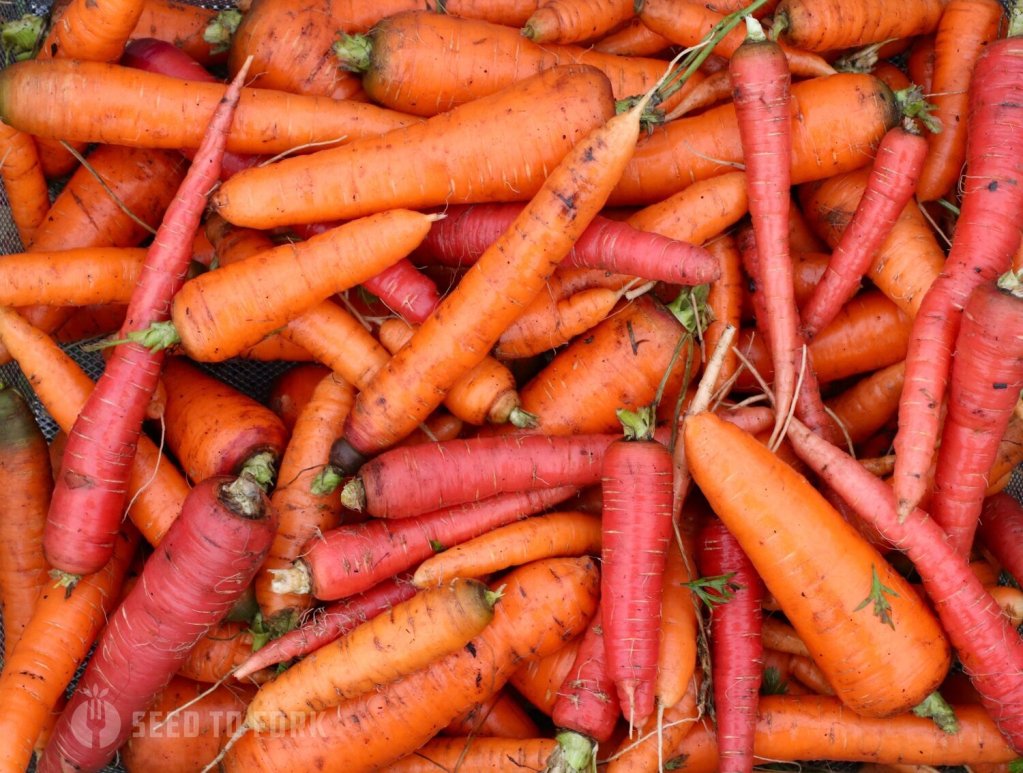
Fall carrots are simply the tastiest. We select varieties known to store well so we can keep eating our homegrown carrots all throughout the Winter. Stored well, they keep for upwards of 5 months for us.
Most of these make fantastic fall crops, so sowing them starting after the Summer Solstice and into the middle of July for a northern garden works well. You can also sow many of these types of crops early and get a spring harvest, but I find things like watermelon radish to just grow better for me in the fall. Carrots, though, we grow them all season long and store them well into the following year.
Sowing Tips:
Sow carrots as soon as the soil can be worked in spring, although they germinate faster as the soil warms up, like most things. We have tried a lot of different germination aids but the current favorite is using a burlap sack to hold moisture in and keep the soil evenly moist.
Consistent moisture is completely critical for good germination. Carrots are sown shallow like radishes, ¼ to ½” deep. We often use our pitchfork and loosen the soil as deep as we can work it before sowing carrots to ensure the soil is ideal for those lengthening tap roots. Again, this is just for carrots. The rest of the root crops we grow form round bulbs and don’t need pitchforking prior to sowing.
Key Takeaways
- You can grow a tasty garden directly from seed right in a container or into your ground.
- The better drained and amended the soil and the more sunlight, the happier and more productive the plants.
- The bigger the seed, the deeper it goes into the ground. And vice versa: small seeds are sown right near the soil surface.
- Soil temperatures are a key factor in germination. If you plant seeds too soon, they will take longer to germinate. Don’t lose hope!
- You can plant hot weather crops too soon. Resist the urge!
- Some direct seeded vegetables like radish and leafy greens grow best in cooler weather. Embrace the seasonality of growing food.
Happy Growing!
You might also like:
Get updated by email whenever there’s a new post
Comments
If you’re a subscriber, you can discuss this post in the forums
Leave a Reply