
Your cart is currently empty!
How to Store Your Harvest
Get updated by email whenever there’s a new post
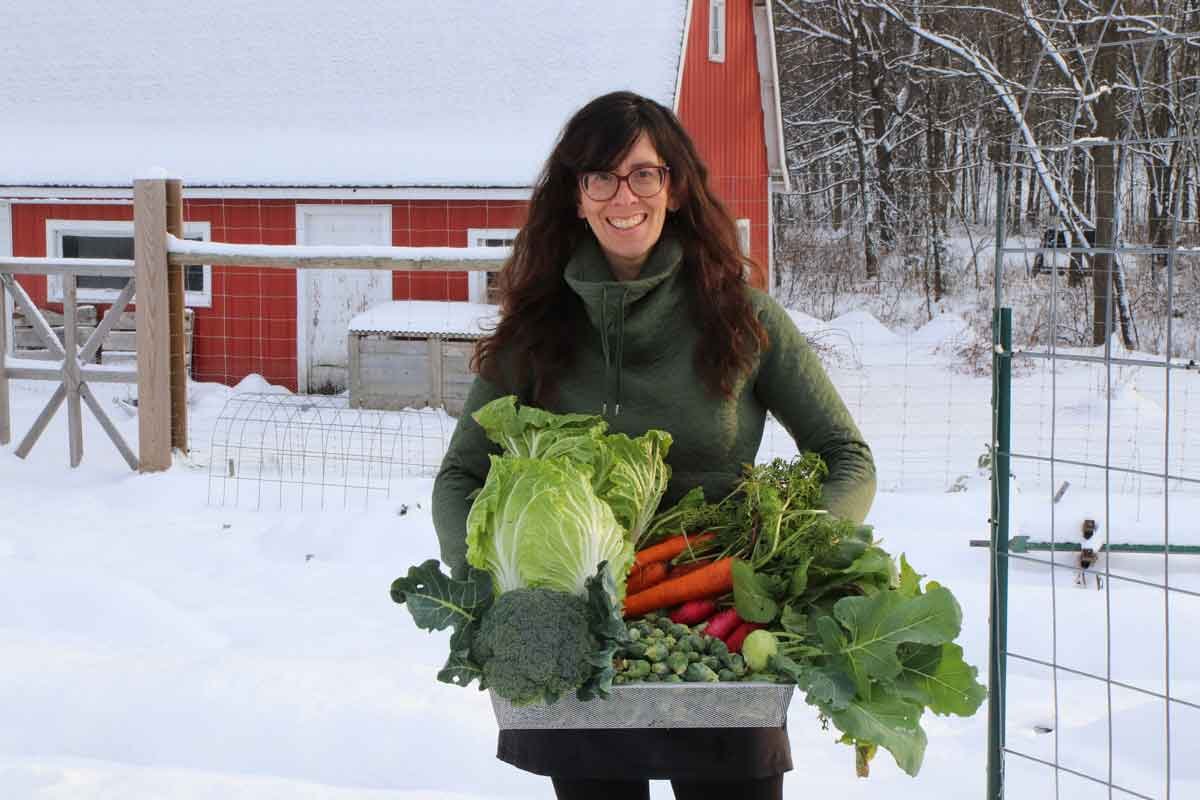
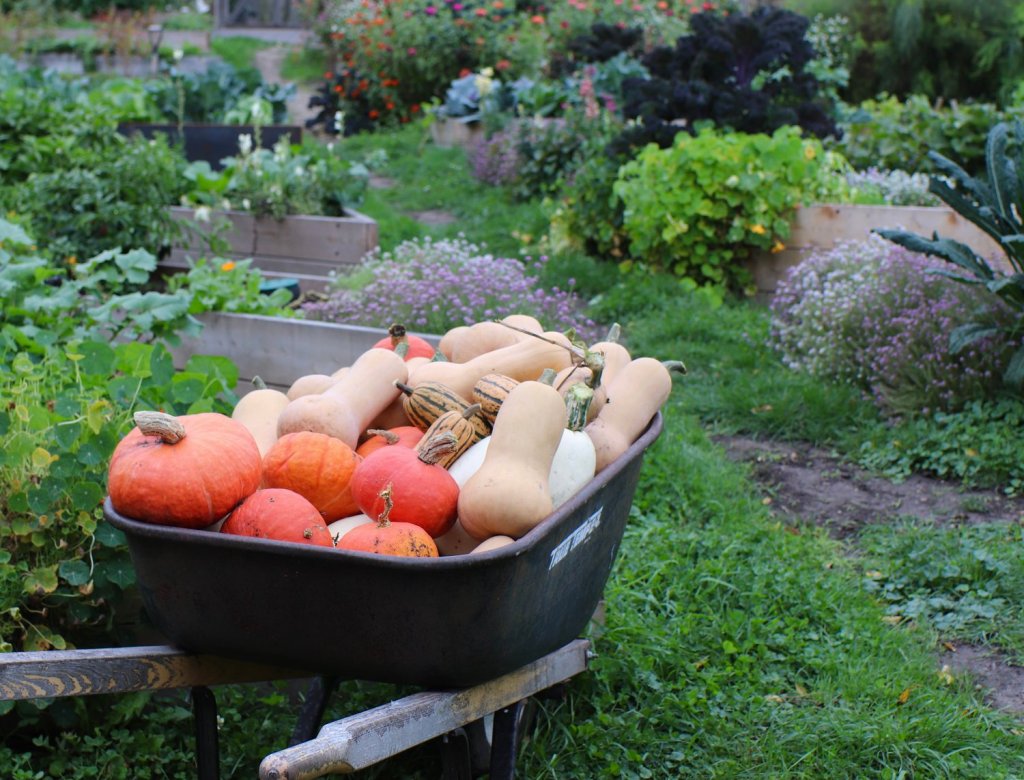
So you grew an insane amount of carrots or have a wheelbarrow full of winter squash. Now what? Knowing how to store harvests properly will help maintain nutrition and best eating quality.
In this guide, I’ll go from easy to hard, from dry goods to downright produce aisle tricks. I hope this will give you some confidence in how you work with your food, and perhaps even in helping you plan for future seasons knowing how easy or hard certain foods are to store.
Dry Goods
Some produce is just really easy to store. These are vegetables that we harvest dry. Think cooking beans (dry beans). Cobs of popping corn. Onions that we grew for storage that we cure and tuck away. Herbs even, are a crop that we can think about how best to harvest and store.
In general, the following crops do well stored in an unheated closet at normal indoor humidity levels (35-50%):
- Dry beans, all kinds
- Dry corn, popping and flint/flour
- Shallots, Onions, Garlic
- Onions
- Peanuts
- Sesame seeds
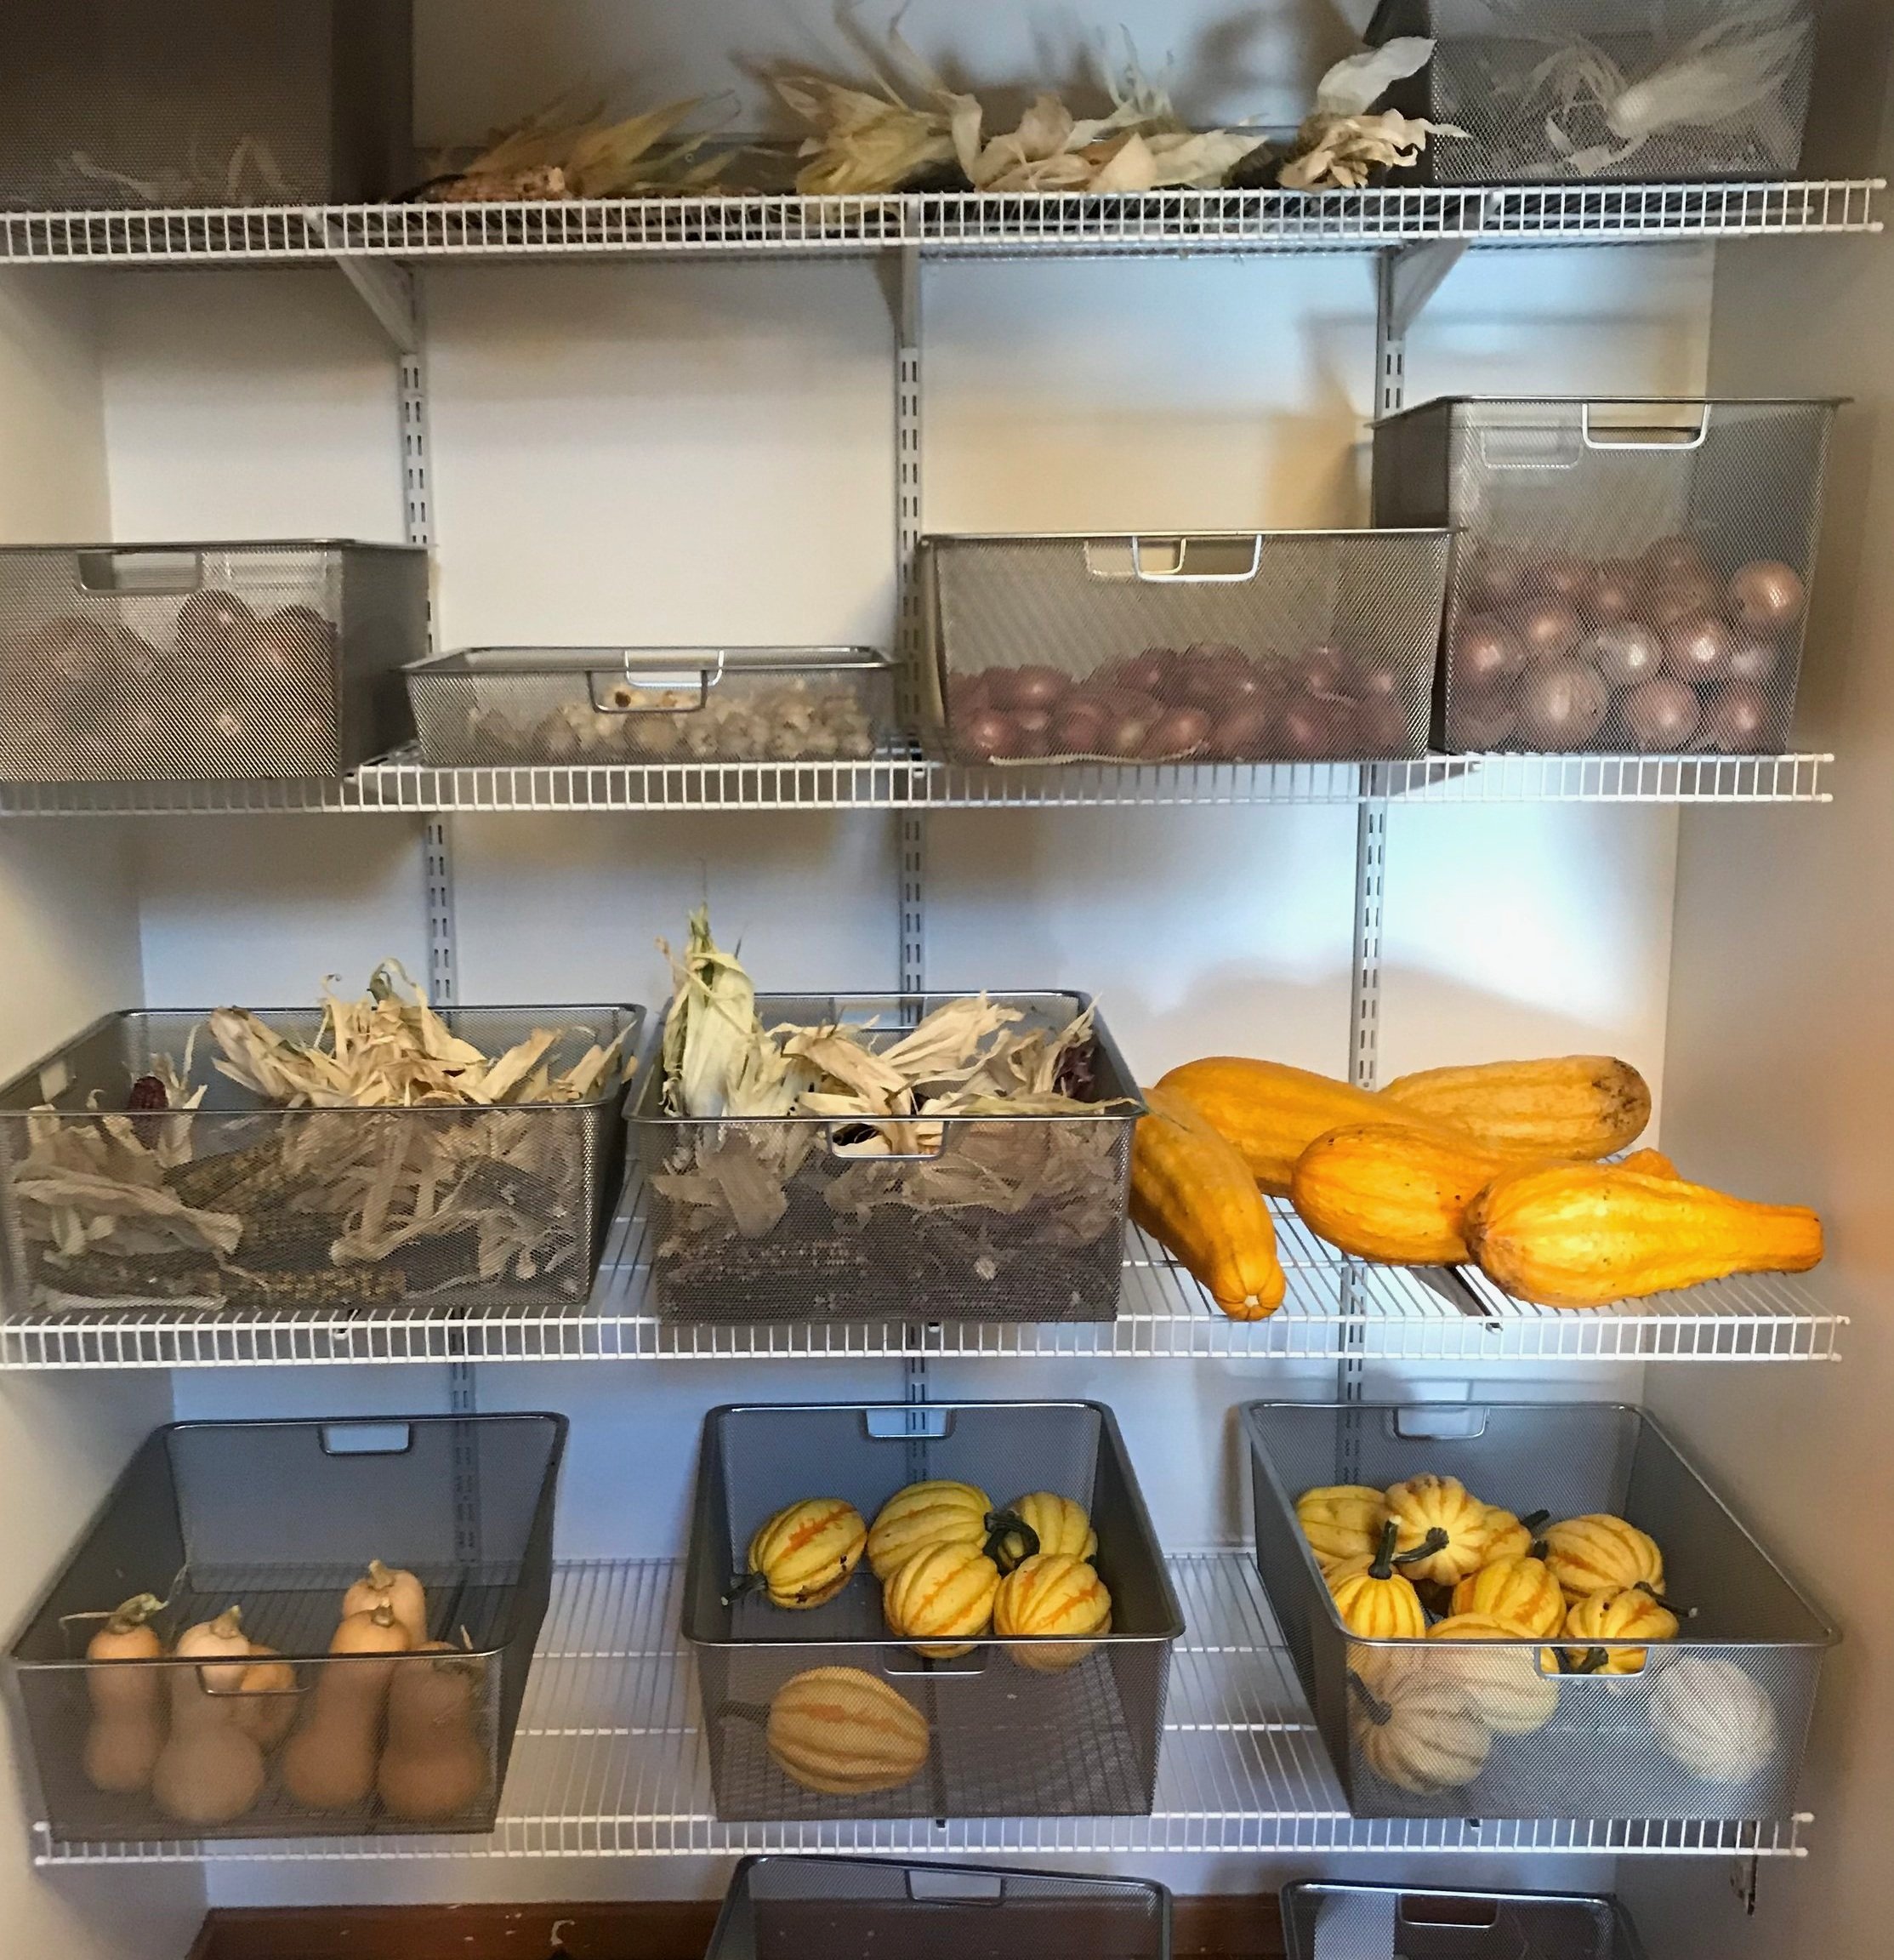
- Sweet potatoes*
- Winter Squash
The theme here is pantry staples, hence, you might find them in a pantry area/non-humidified area of your local grocery store or co-op. These items do not require refrigeration, which also, naturally, means they don’t need high humidity. In fact, if we expose some of these things to high humidity like, say, the beans, they might break dormancy, just the thing we don’t want.
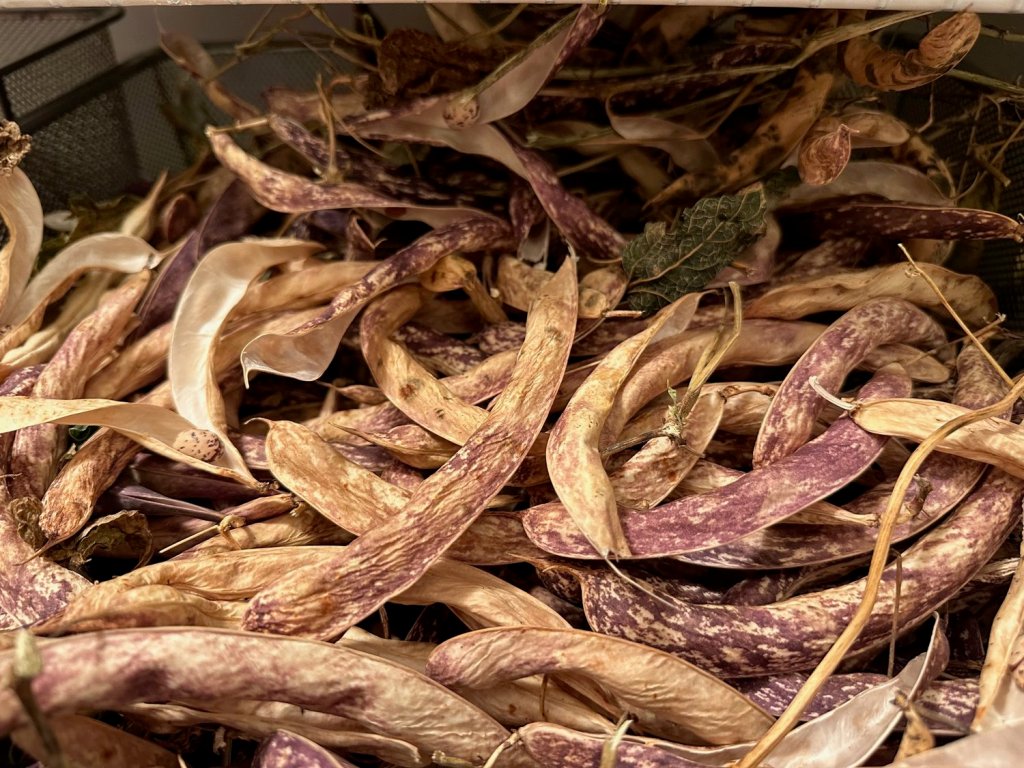
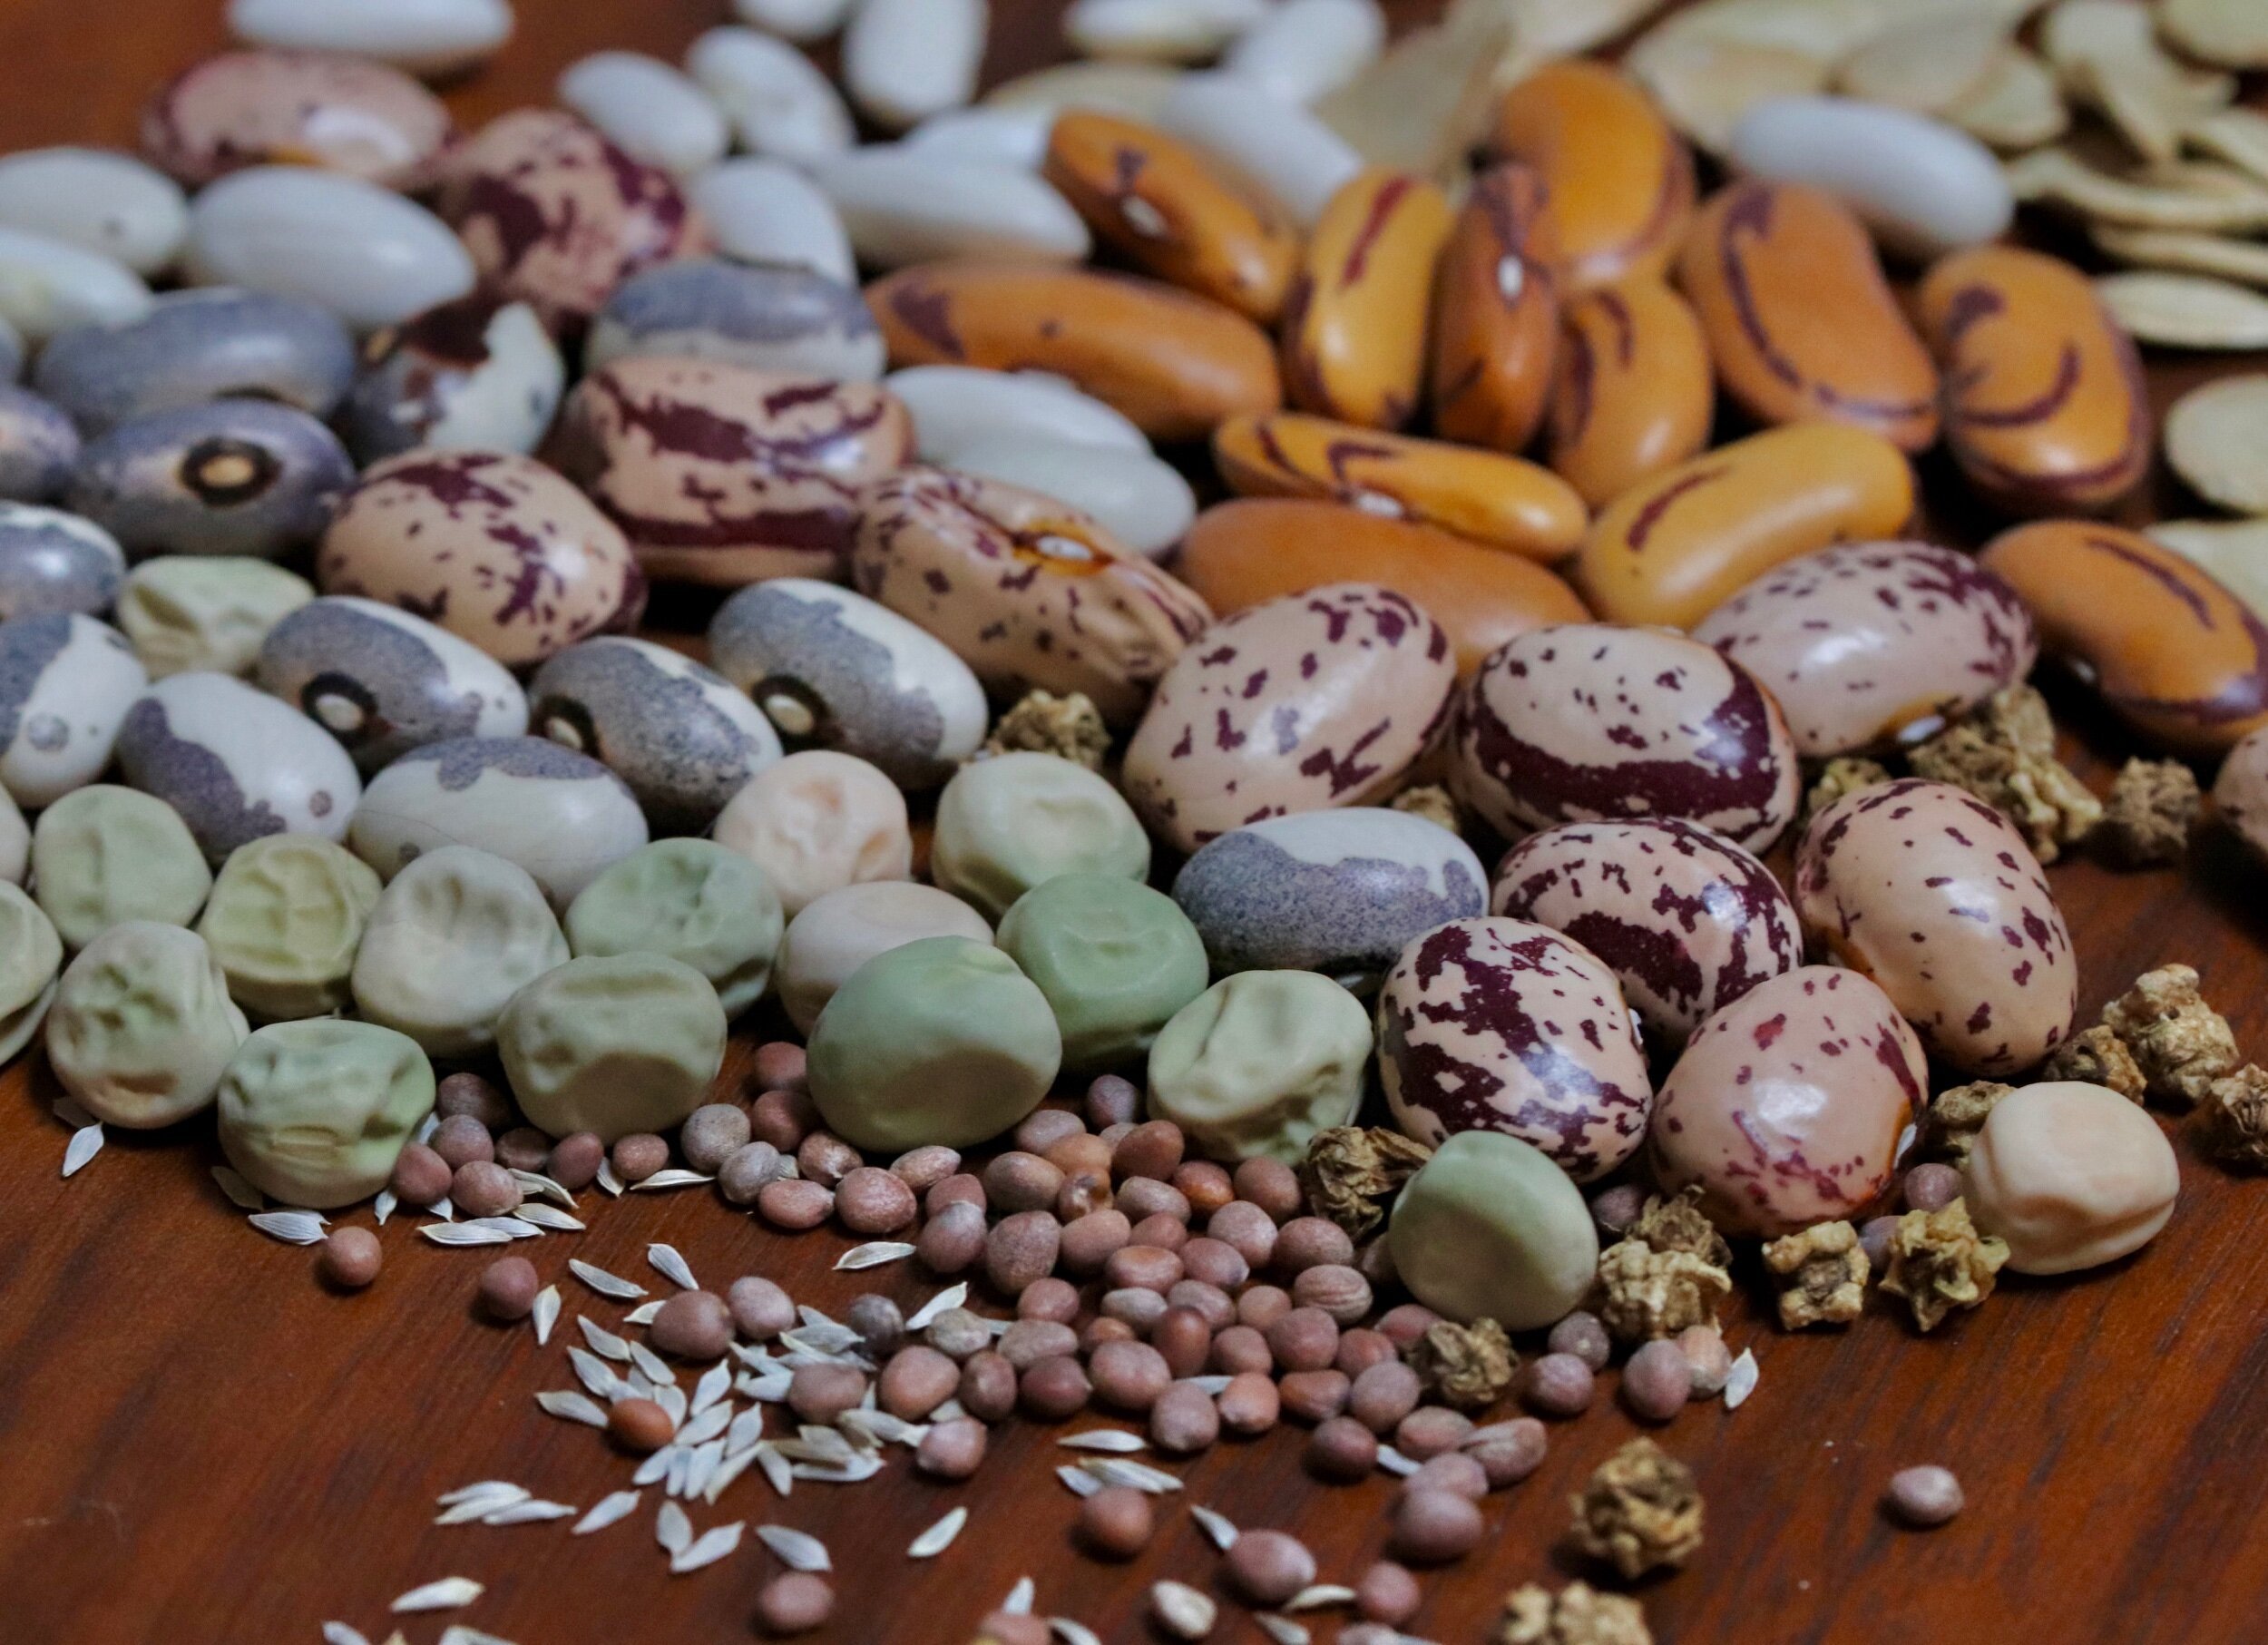
Beans
I store my beans in plastic or paper bags before we shell them, and then in glass jars once shelled. You do not have to shell them anytime soon. In fact, I have some beans to shell from last year still!
Dry Corn
I’ve read in a few places that it’s recommended to pull popping corn off the cob and store it in airtight containers, but we store it both ways – some in a glass jar, and also some still on the cob. I always put a few droplets of water into my jar of popping corn before using it to add that little bit of moisture needed to pop well (the water is what expands the kernel!). All this to say, don’t get too hung up on the process. As I hope you’re reading, we do many different things. But the most important thing we do is follow the humidity and temperature recommendations as best we can. We don’t hit 50F and 40% humidity for these things, but our storage closet is cooler than our main living area, and food lasts for many many months.
Onions
With onions, garlic, and winter squash, keep an eye on them, and hunt around for produce that’s starting to go bad. How many times have you bought a bag of onions and more than one has already started rotting?! For me, it’s every time, even when I carefully inspect the bag. This rot will naturally start to happen in late winter/early spring for us, so sometimes I move some of them into the fridge, but not until we’re nearing the end of storage season.
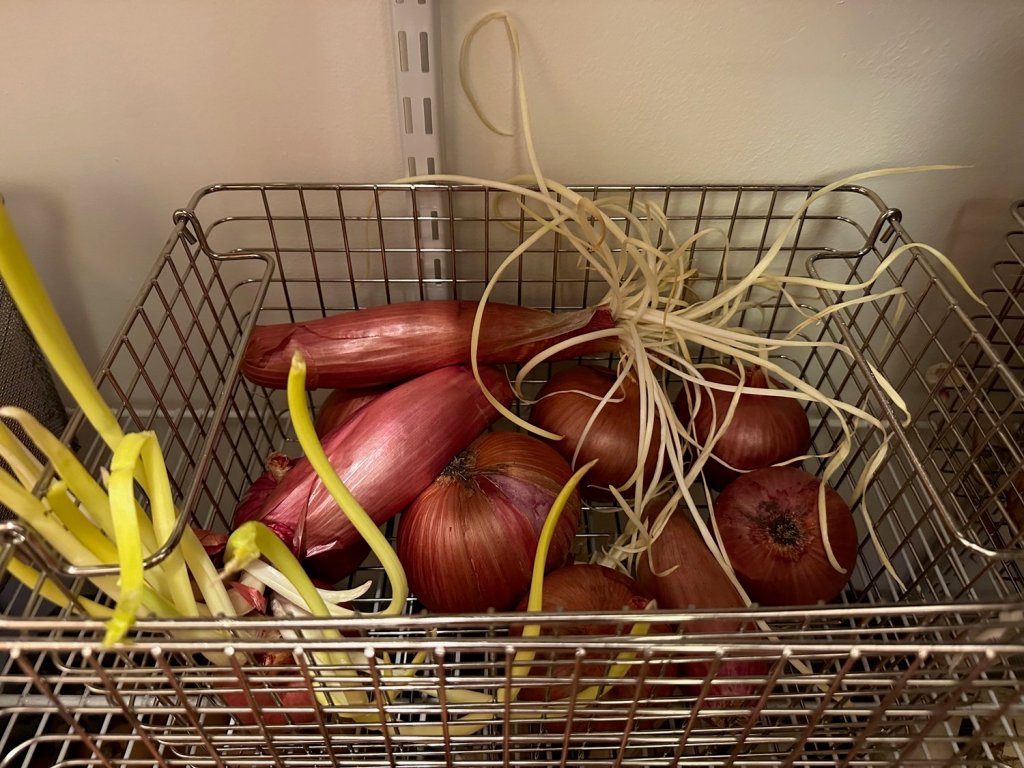
My non-storage onions are already sprouting tentacles, reaching and stretching for sunlight as they go for round 2, seed-making. Instead, they will head out to the compost bins!
Garlic
For garlic, I like to keep an eye on it and either peel and freeze cloves whole or chop and dehydrate and grind for powder. You can also puree it up and freeze in cubes or in little servings on parchment and then toss into a labeled storage bag or container. This is something that might need to happen anytime between now and February, depending on how well it’s storing for you (and me!). I think our closet it a bit too dry for our garlic, as it doesn’t store as well as it “should”. But now that we have more softneck garlic, we tend to use the hardneck for garlic powder and save the soft neck for fresh cooking and late winter consumption.
Curing for Dry Storage
Sweet potatoes, winter squash, garlic and onions all need to be cured in order to store for long periods of time. For onions and potatoes, you are working to dry out the central stalk/outer papery layers that will help seal in the remaining moisture. This is done in a warm, shady place on a surface that has ample airflow, like an old screen on sawhorses setup in your garage. For winter squash, you will want to harvest a bit before the first fall frost but when it’s still warm out, because winter squash need to harden their skin off to seal in their moisture. This is done by sitting out in the warm humidity for a week or so, at warm temperatures (80s). You’re suppose to lay them in a single layer and turn them every few days, so you give any nicks a chance to cure. Finally, for sweet potatoes, it’s really high humidity and high temperatures, similar to winter squash. Again, we are curing the skin and sealing in moisture. I achieve this in our bread proofing area: I spritz the sweet potatoes several times a day with water while the heat mat it maintaining temperatures in the upper 80s. This is a 2-week process, but it worked great for me a few years ago when I first tried it.
If doing all this work sounds like too much, just plan to enjoy your winter squash by sometime in January. You’ll know if they are starting to go bad … they will feel softer and when you cut into them they’ll be drying out (or worse).
Damp Vegetables
The other major group of storage vegetables are those that require humidity. This produce should be stored, ideally, between 33-40F and at extremely high humidity levels, 95% or higher. Think of all the produce that gets misted with water every 15 minutes at the grocery store. These are also foods that generally speaking, have roots that are buried in damp soil this time of year. Yes, there are exceptions like the magical ability to store napa cabbage and bok choy in our root cellar for 6 weeks, but mostly I use it for roots, as the name suggests. The name of the game is to emulate the conditions in the garden: a dark, cool, and humid environment (birdsong optional).
Potatoes are an odd exception to my produce aisle visual because they are presented alongside drier crops like onions, winter squash, and sweet potatoes in the grocery store. But for best quality and long-term storage, they require humidity. I imagine they came out of a damp cooler to travel to the store. And, they are stored differently than our other vegetables – just tossed into a bin inside our damp root cellar, no burying needed.
Along with our potato harvests, we also store the following in our damp root cellar (length of time listed parenthetically):
- Potatoes (4-6 months)
- Green or Red Cabbage (up to 2 months)
- Leeks (2-3 months)
- Carrots (4-6 months)
- Daikon/Storage radish (3-4 months)
- Beets (3-4 months)
- Kohlrabi (2-3 months)
- Brussels Sprouts* (2 months)
- Napa Cabbage* (6 to 10 weeks)
- Bok Choy* (6 to 8 weeks)
There are 3 different ways we put food up in this damp root cellar:
Potatoes and cabbages
Just lay in bins on the shelves, as is. No burying in damp sawdust or damp sand needed.

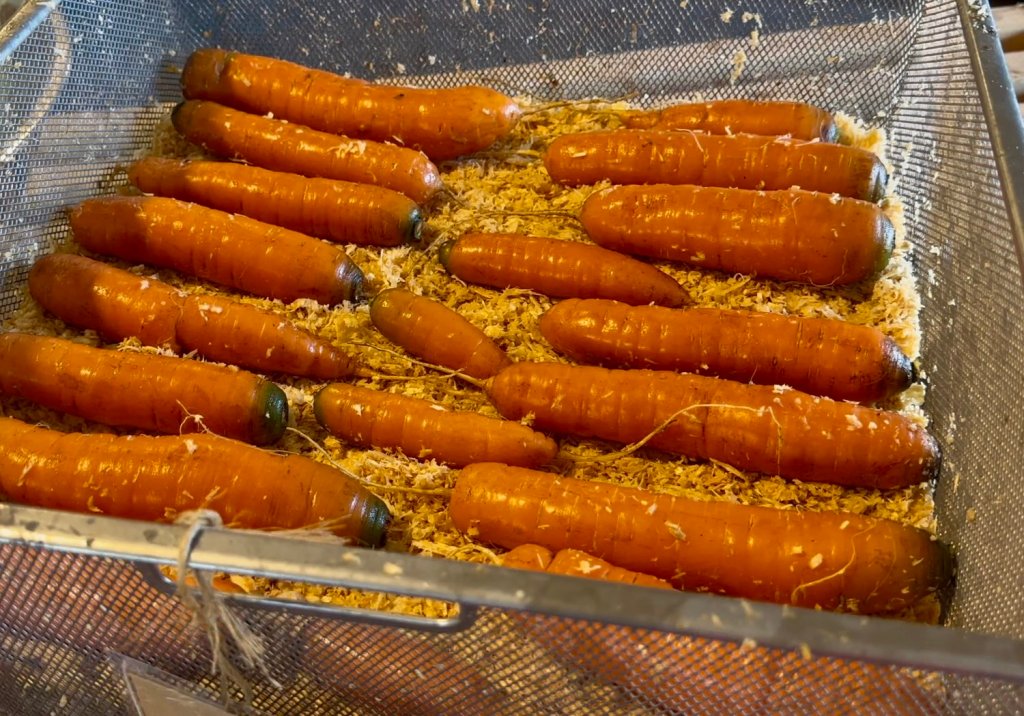
Carrots, kohlrabi, beets, daikon, watermelon radish, turnips, and parsnips
Bury a layer of clean vegetables — not touching each other — in damp sand or sawdust. We use sawdust for ease of lifting, and then compost it the following year.
brussels sprouts, napa cabbage, bok choy, & leeks
Dig up part of the root ball and bury it in damp sand/sawdust, thus replanting it in the root cellar. These don’t store as long as potatoes or roots, but it sure saves on space in our refrigerator.

How to Put Food by Without A Root Cellar
I recognize it’s both not feasible and not an interest for some (many?) to have such a large space for storing food. Most reasonable people rely on others to store vegetables and make them available in a steady stream in the produce aisle. And, the volume at which we grow is also a bit of an outlier too. So if you have maybe 10-20 pounds of carrots, how can you make them last in peak condition?
For veggies that require damp conditions, use your refrigerator for shorter term storage. Rinse off dirt by soaking in a sink and gently brushing any stuck dirt with a vegetable scrubber, then place them in a plastic bag. I can get 1-2 months storage from carrots, cabbage, kohlrabi, potatoes, beets, and daikon just in our fridge in lightweight produce bags. I’ve found it essential to not use a Ziploc bag, as that may (and has for me) cause the produce to rot, especially if they are very wet when placed into their bags.

If you live in slightly warmer climates that we do, you can also try to extend your actual harvest by placing a heavy layer of mulch over your carrots and leeks and harvest as needed, maybe one more harvest in January or so. This is something I’ve not tried and honestly don’t have much interest in doing — my hands go numb very quickly in winter, and so I prefer my no-jacket-required root cellar alternative.
I hope this gives you some ideas for how to take your growing to new levels, and perhaps will shift your growing focus to rely on easier to store foods next year.
You might also like:

Get updated by email whenever there’s a new post
Comments
One response to “How to Store Your Harvest”
If you’re a subscriber, you can discuss this post in the forums
-
Testing a comment!
Leave a Reply